Trouser Fly Zipper Tutorial
As the name suggests, the trouser fly can be seen on all denim jeans, suiting trousers, and many more! The zipper is hidden and finished with a clean topstitch. You can apply this technique on our peg trousers.
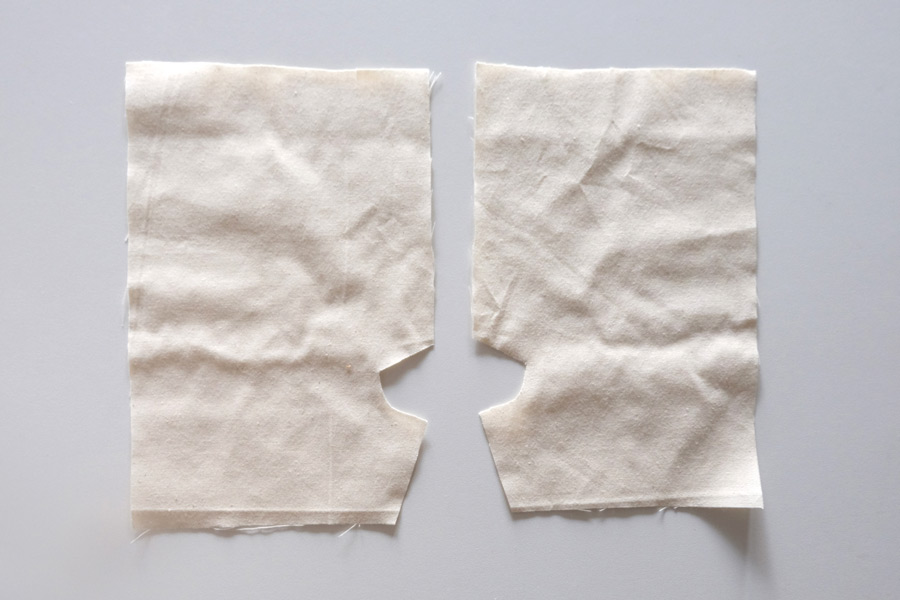
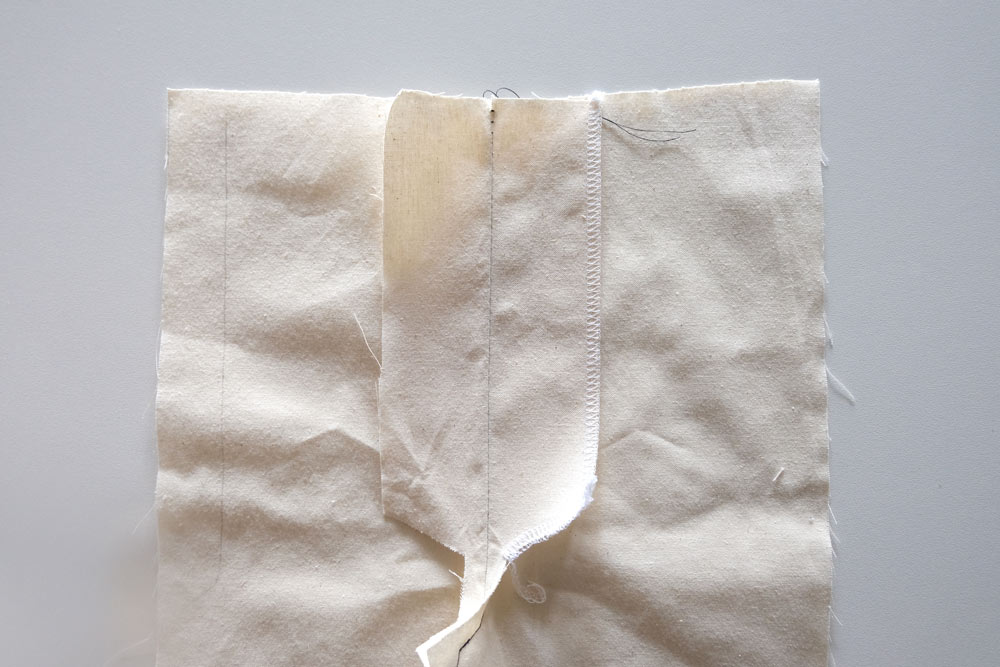
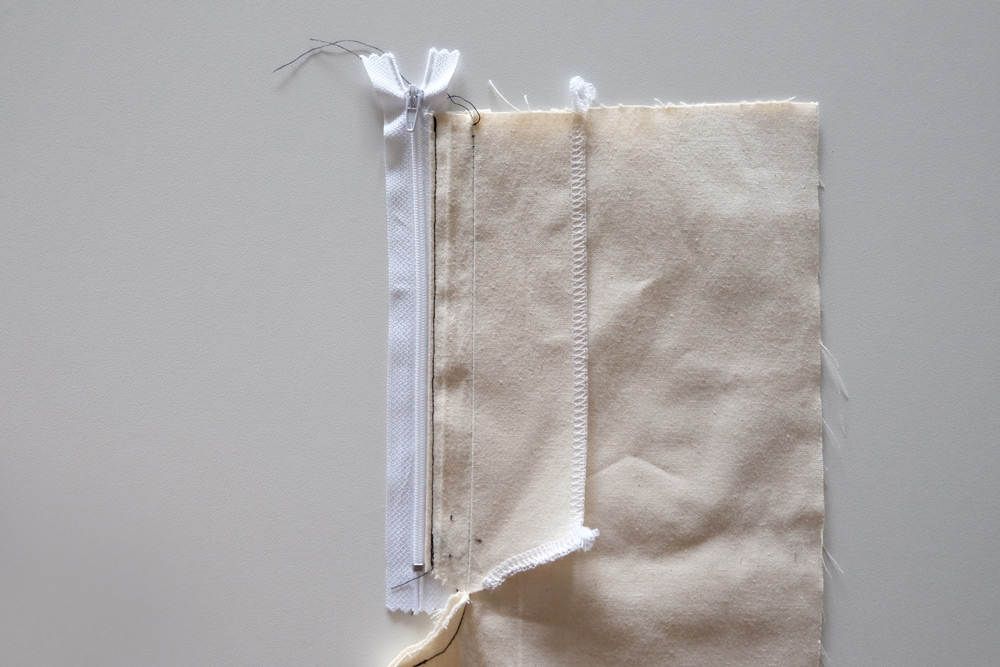
1. Start by serging or zig-zagging the raw edges of the right side fly of the trousers. Serge only until the end of the fly where it pivots to meet the curve (crotch).
2. Draw a straight stitch line from the top centre front notch, stop at beginning of the crotch seam.
3. Just like the regular zip, this is easiest when you baste the seams together before the zip insertion. Use a basting stitch from the top edge from the notch until the end of the line. Switch back to a regular 2.5mm or 3mm stitch length for the remaining crotch seam but stop 1 cm before the edge of the fabric. Remember to backstitch at the start and end of your regular stitch. Press the seam open.
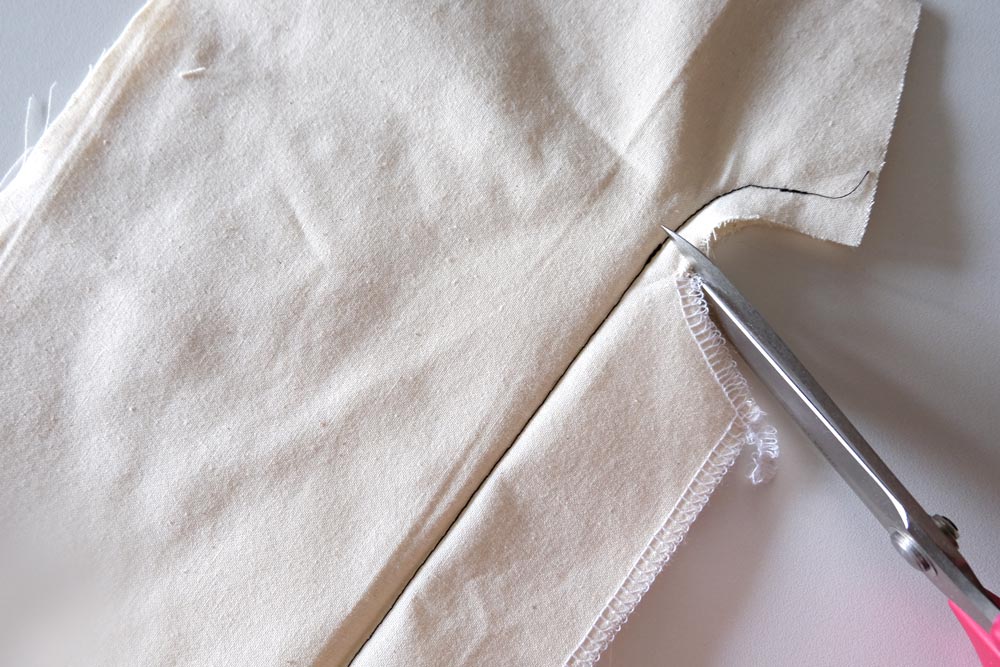
4. Snip from the bottom corner of the fly extension to the marking without cutting into your stitch line.
5. Serge the crotch seam. Press the fly extension open and the crotch seam to the right.
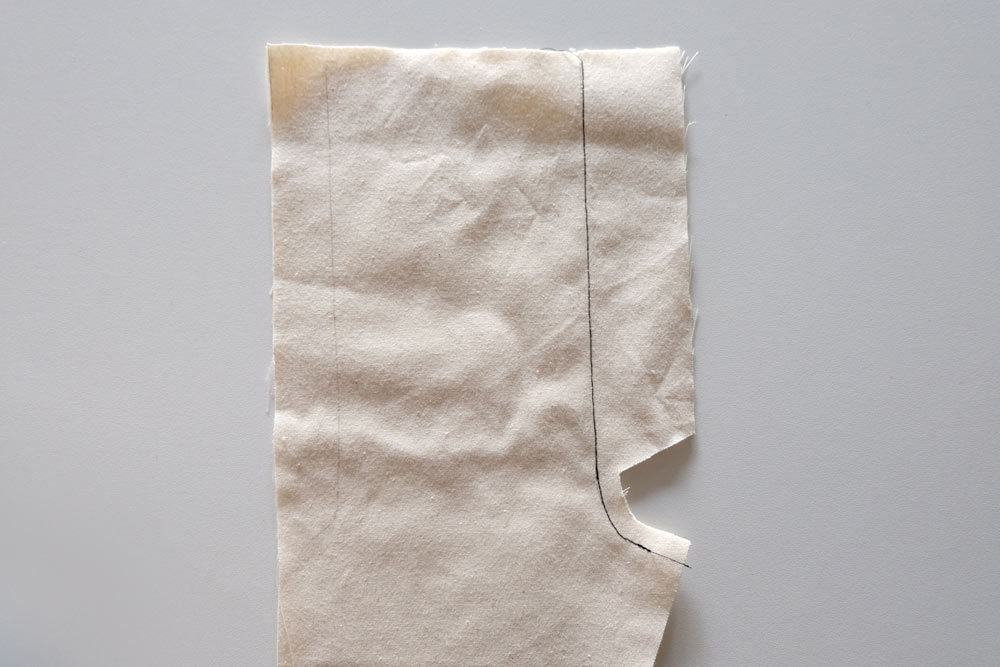
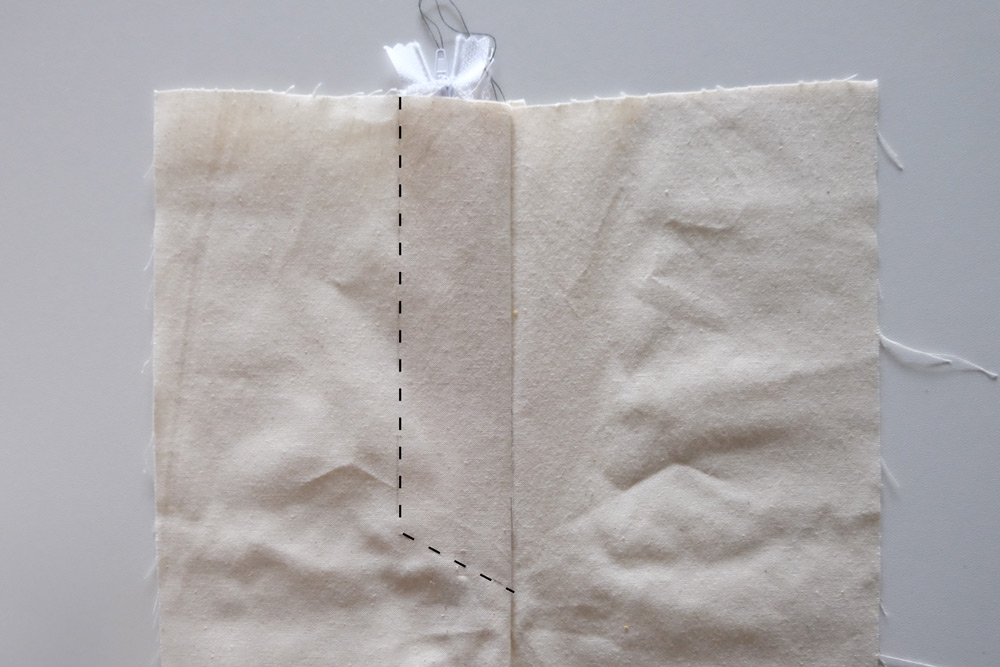
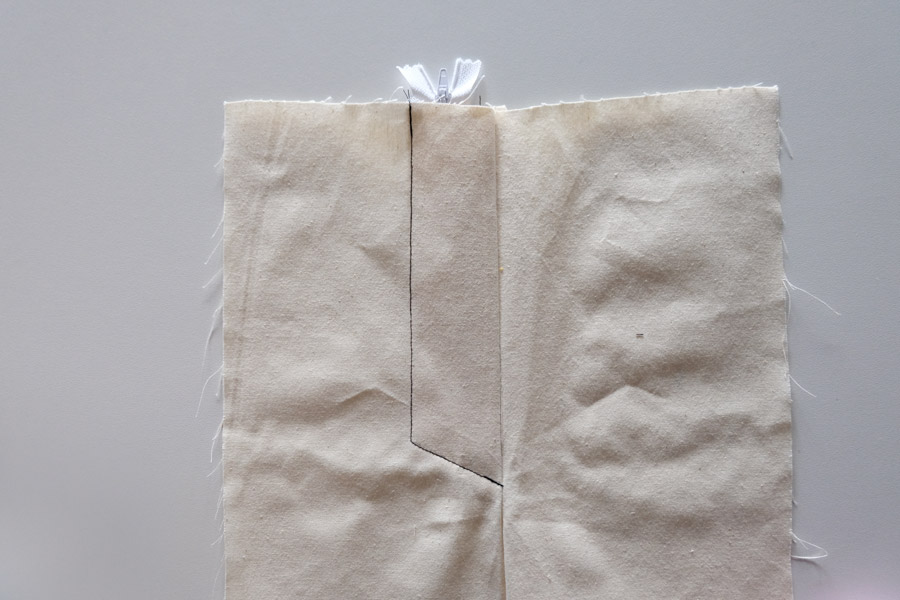
***This is a good time to chalk your topstitch line on the right side of the trousers before the zipper is inserted. See final image at the bottom of this tutorial.
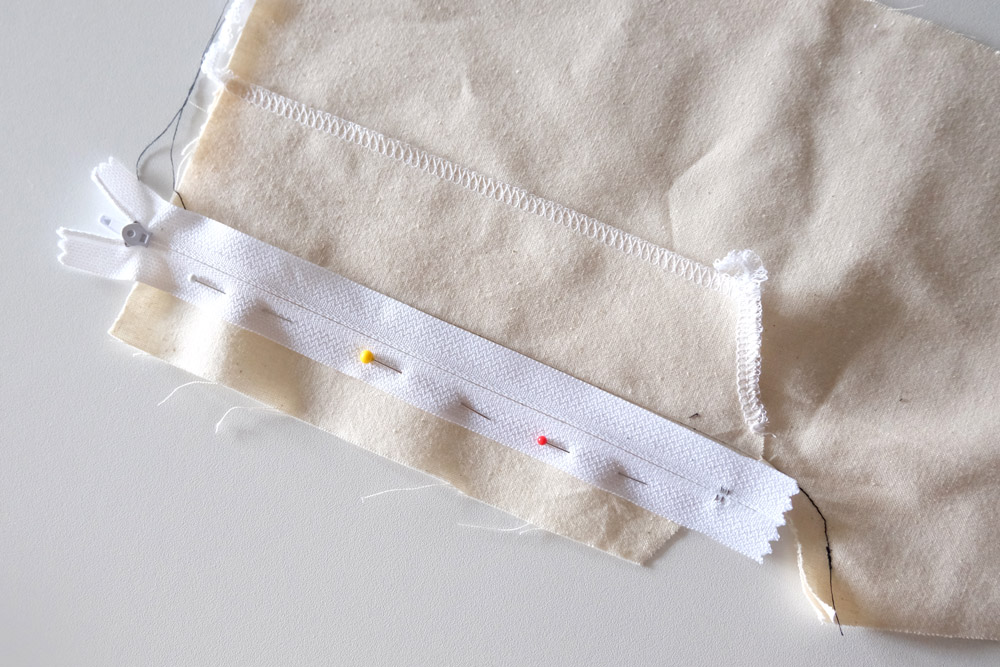
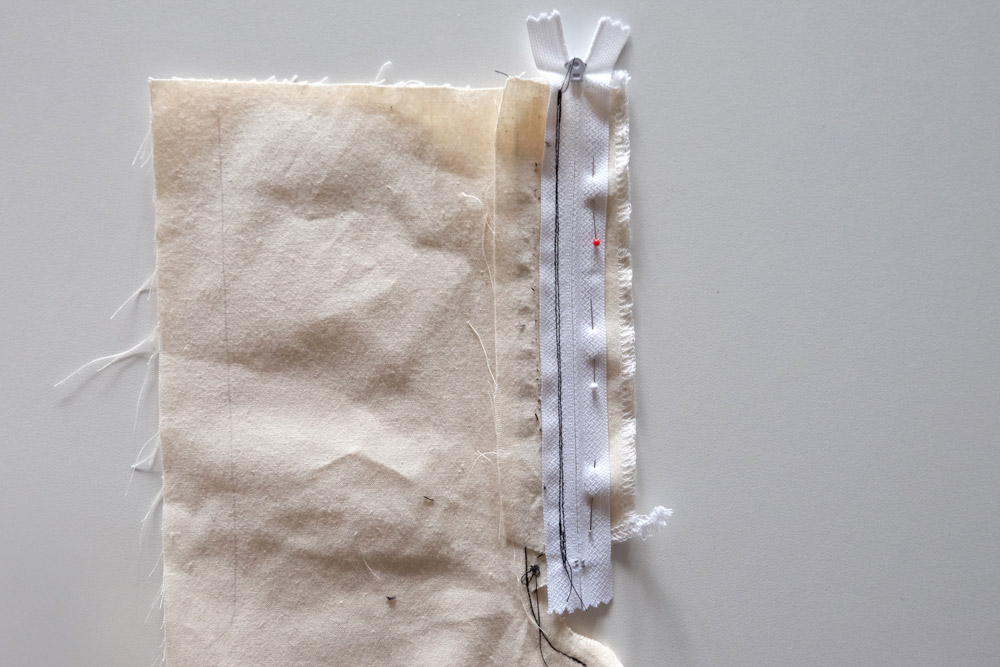
6. With the wrong side of the trousers facing up, place the zipper on the left fly extension with the teeth facing down. The right edge of the zipper tape should align with the centre front seam, and the bottom of the zipper stop should rest at least 1 -2 cm from the bottom of the left fly extension. Pin in place.
7. Switch to a zipper foot and sew the left side of the zipper to the left fly extension. Keep the left pant leg tucked out of the way! Sew the zipper to the fly extension only.
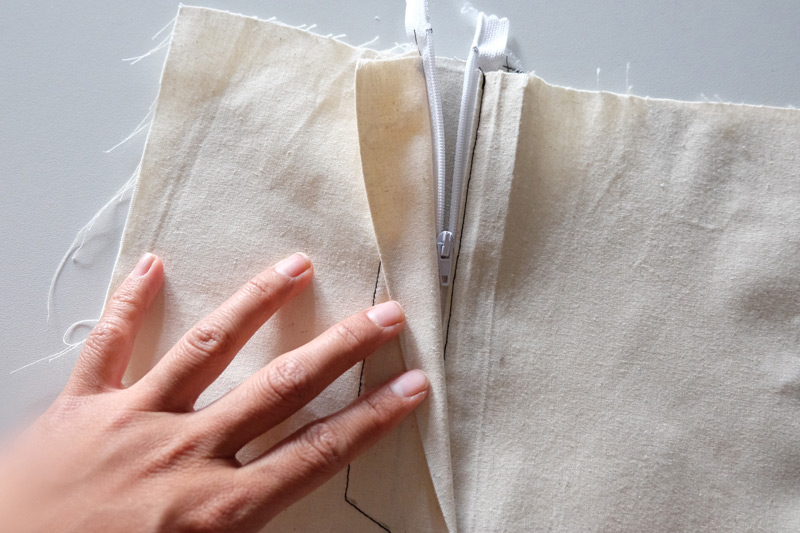
8. Turn the zipper right side up, folding the left fly extension under the seam you sewed. Topstitch 1/8″ to the right of the zipper, keeping the pant legs out of your stitch line.
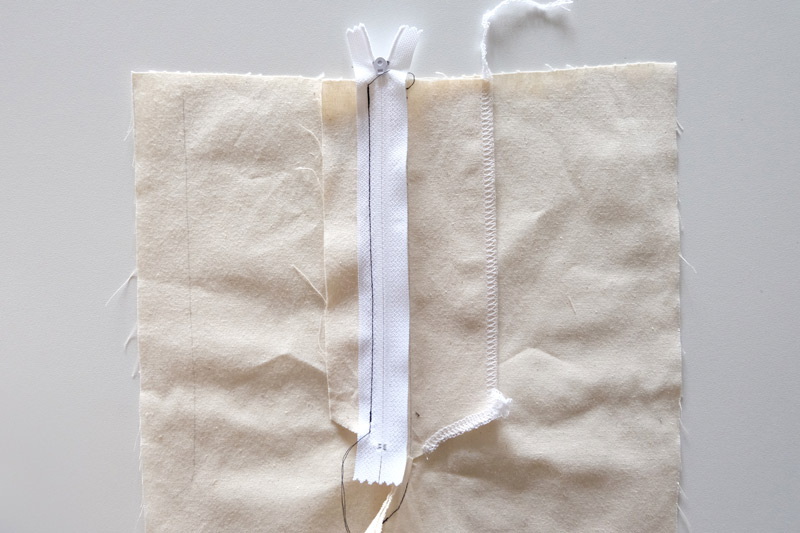
9. Now flip the zipper and left fly extension to the right of center front. The left fly extension will be resting on top of the right fly extension, and the zipper will now be to the right of the center front seam. Pin the right side of the zipper to the right fly extension, keeping the pant legs out of the way.
10. With your zipper foot, sew the zipper to the right fly extension close to the right side of the zipper teeth, and then again along the right edge of the zipper tape to secure it in place. The zipper should be secured to the right of centre front.
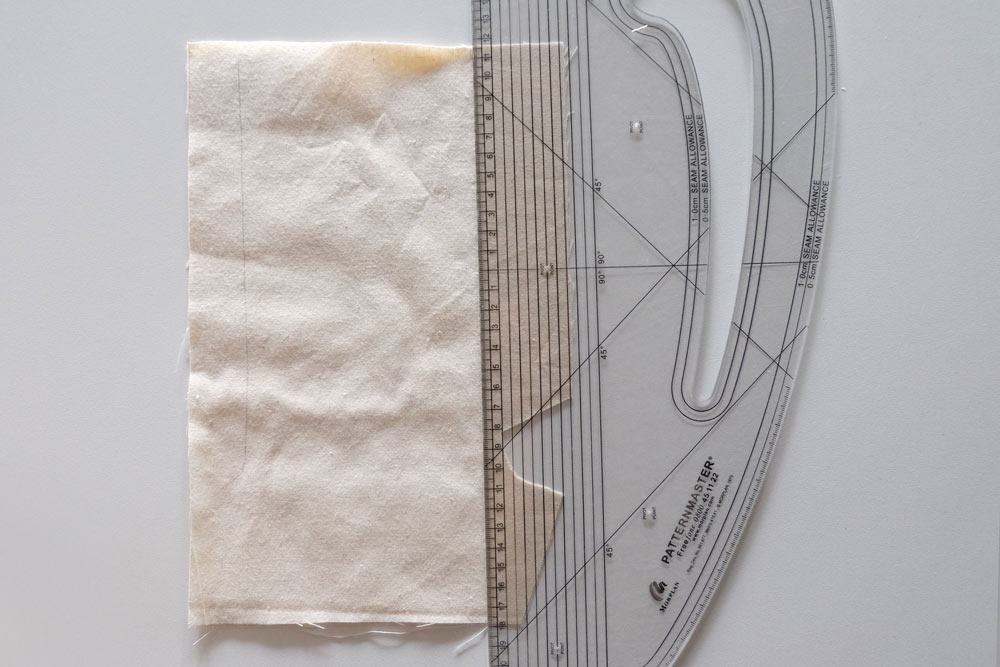
11. Turn the front of the pants over so the right side is facing up. Locate the bottom zipper stop with your fingers, and place your topstitching guide about 1/2″ below it with the straight edge of the guide along the center front seam. You want to make sure you are catching the fly extension below, while also avoiding sewing over the zipper stop, so adjust as necessary until you get the positioning right. With a removable marking tool, trace your stitch line along the curved edge of the topstitching guide.
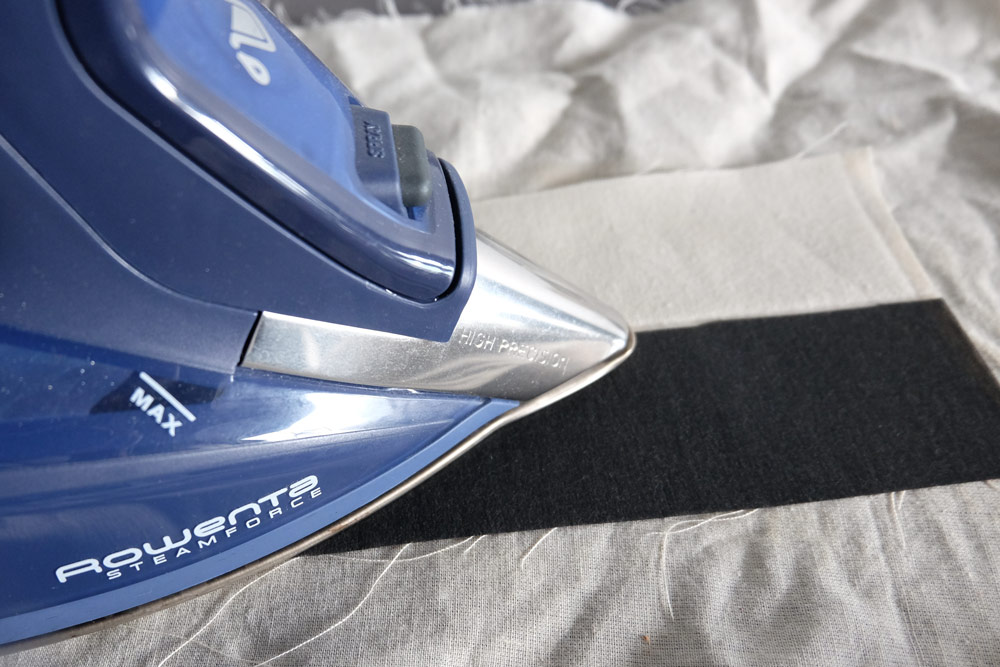
12. Prepare the fly guard for installation. It doesn’t matter which of the fly guard pieces is interfaced, but we prefer to interface the outer guard since it will be resting against the zipper.
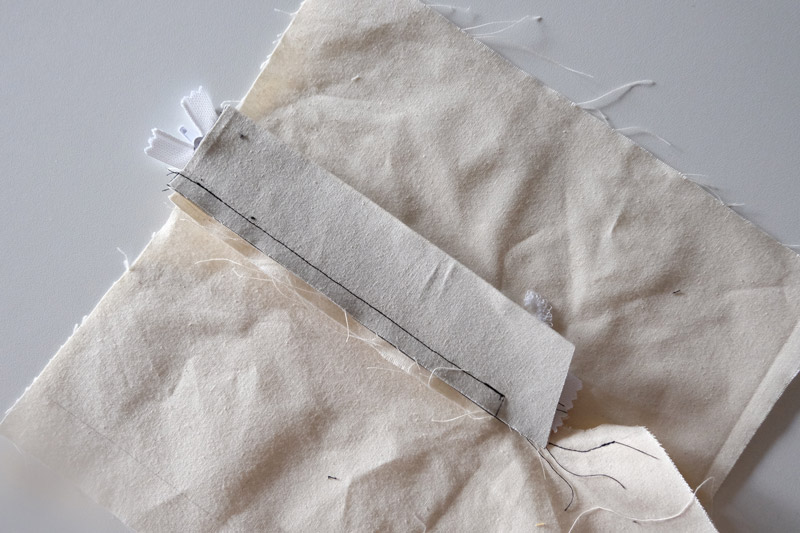
13. Position the fly guard in place. Place the straight edge of the fly guard over the left fly extension, and align the top of the fly guard with the waist of the pants. Pin the fly guard in place so that when it is sewn with a 1/4″ seam allowance, the stitch line will just catch the left zipper tape. You will need to trim some excess fabric from the left fly extension.
14. After the fly shield has been sewn in place to the left fly extension using a 1/4″ seam allowance, finish the raw edge. You may use a serged or zig-zag stitch, or finish the seam with bias tape.
15. To secure everything in place, sew a 1/2″ bar tack at the bottom of the topstitching where it meets center front. Begin sewing at center front and sew through all layers. The fly shield will now be anchored in place.
16. If you haven’t done so already, remove the basting stitches along centre front and test your zipper!


