Invisible Zipper Tutorial
The cleanest, most discreet zipper of them all! An invisible zip is a zipper that is hidden within a seam. The only part that is seen is a slender zipper pull at the top. With the invisible zipper, you do not need to topstitch on the finished zipper, but instead you install the zipper before the seam it is installed in is sewn. This finishing can also be used on our 1950s circle skirt pattern. It only requires basic sewing skills and patience.
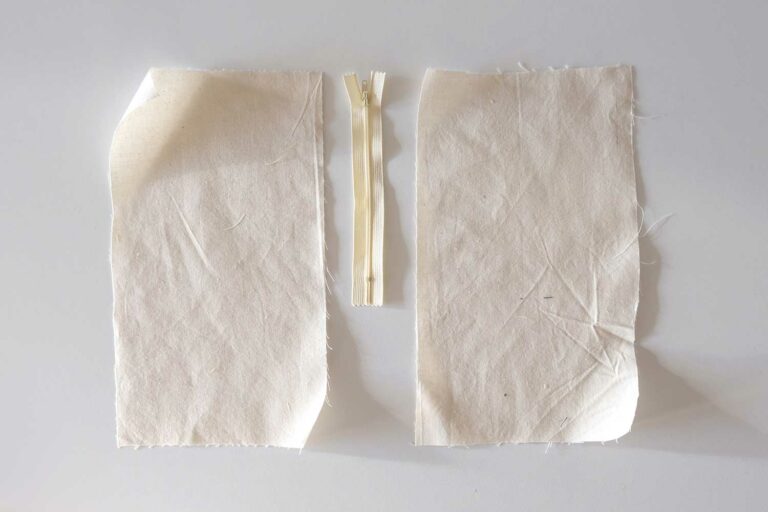
1. Start by serging or zig-zagging the raw edges of the centre edge of each piece individually.
2. With the zipper open, start with attaching the left side of the zipper to the left side of the garment. Lay down the good side of the zip (the side with the zipper tab) touch the right side of your fabric. Align the coil of the zipper with your desired seam allowance. Pin in place.
- If you are not confident with removing pins as you sew, take the time to hand baste the zipper tape into position.
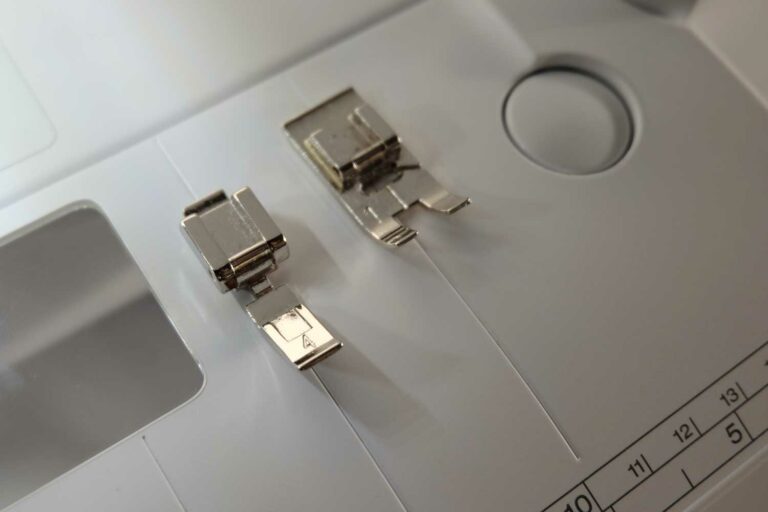
3. Use an invisible zipper foot if you have one, if not, a regular zipper foot will suffice. Remember to move your needle position to avoid a bent or broken needle.
- Place the pinned side of the zipper under the presser foot, with the needle just to the right of the zipper coil (the coil should fit into the groove on the underside of the presser foot). Using the hand wheel, gently bring the sewing machine needle down to confirm that your needle will clear the presser foot.
- Use your left hand to roll the coil, exposing a crease line, sew the entire length of the zipper as close to the crease as possible without catching the coil. Remember to backstitch at the beginning and at the end of the zipper.
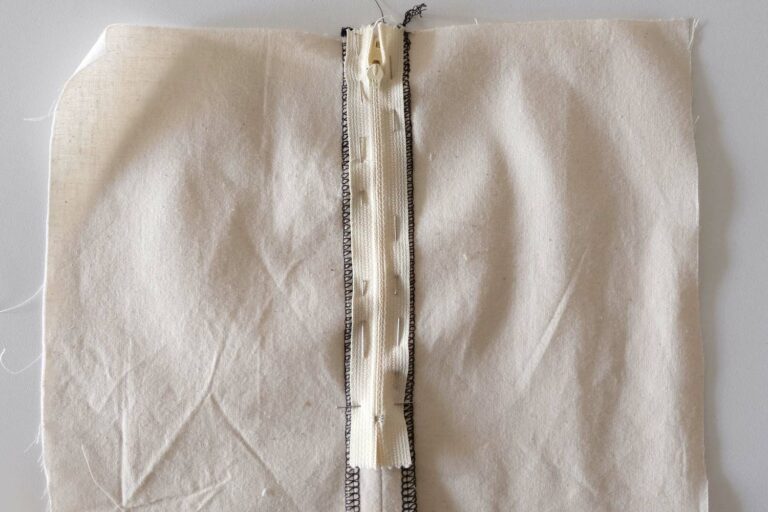
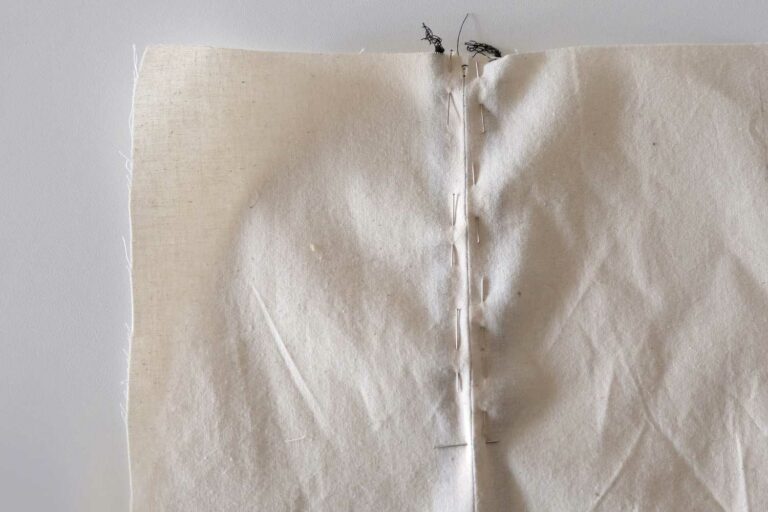
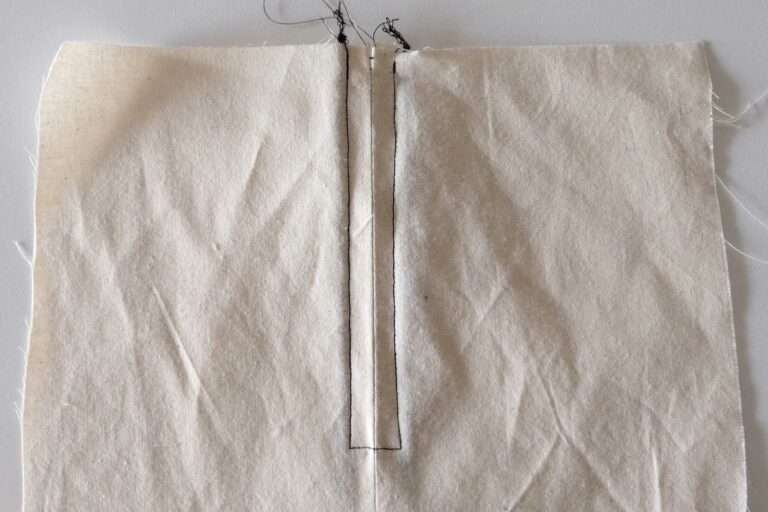
4. On the other side, you will basically repeat the same steps as the first side of the zipper. To ensure perfect alignment, Make sure the zipper is closed before lining the zip to the garment.
- Lay the zipper (pull side down) on the right side of the fabric edge that will create the finished seam.
- Measure and pin in place just as you did for the other side.
- Return to the sewing machine and sew the second side of the zipper tape except this time from the bottom of the zip to the top.
*If you have a seam that will intersect the seam that holds the invisible zipper (for example, the waistline of a dress), be sure to match the seams and anchor points when pinning/basting.
5. Your invisible zipper is sewn in, time to close the seam!
- Close the zipper.
- Match top edges of the zipper (or at a notch) and the seam allowances where the zipper was sewn, as you would align matching seams.
- Pin or baste the matched seams in place.
- Attach the regular zipper foot on your sewing machine (this will allow you to navigate around the bulky start of the seam)
- Place the fabric under the presser foot and align the needle with the stitching at the bottom of the invisible zipper.
- Sew the seam line until you clear the invisible zipper.
- Place a regular foot on your sewing machine and finish the seam.
