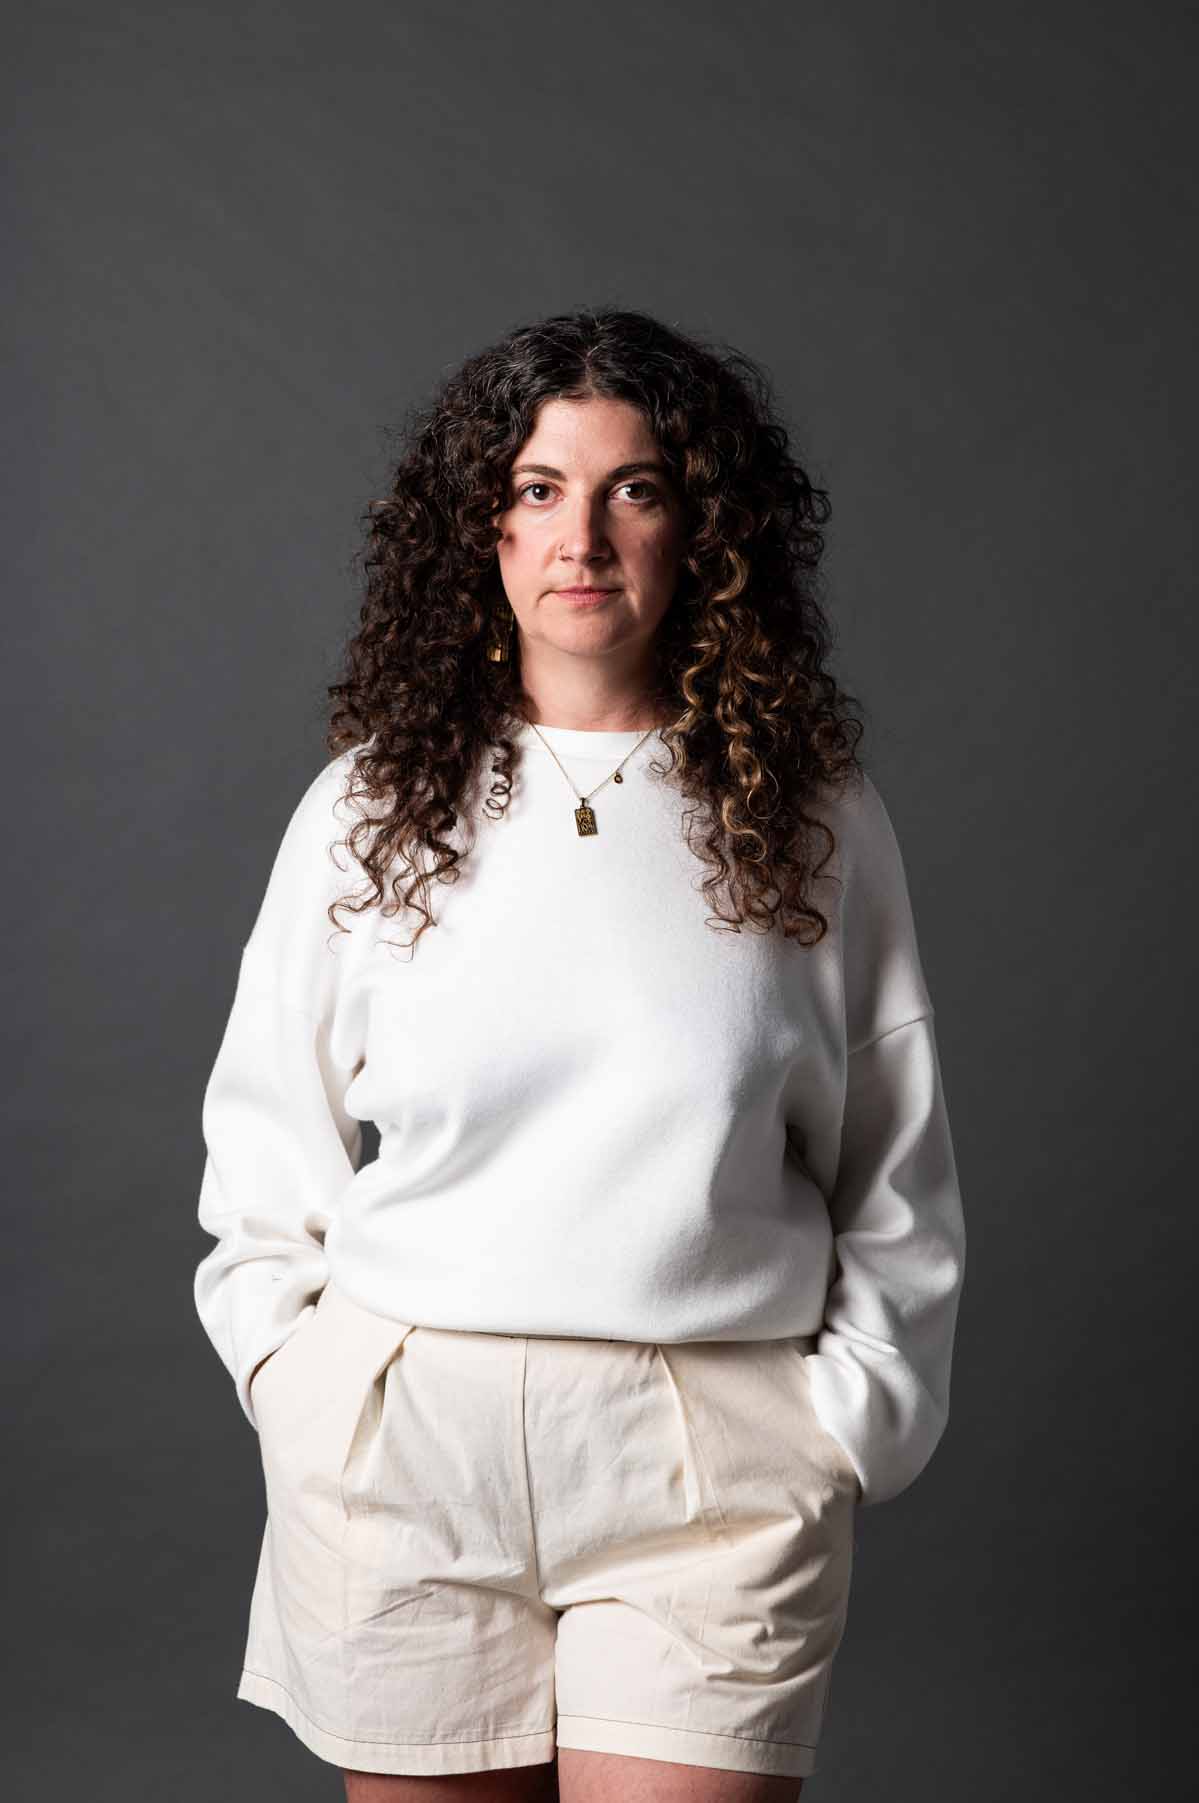
The Favorite Sweater Tutorial

Tools & Materials
- Dressmaking Pins (ballpoint) or Pattern Weights
- Dressmaking Shears or Rotary Cutter
- 1 metre – 1.25 metre of Fabric (140cm wide)
- 4 Spools Overlocking Thread
Body
1. With right sides of the sweater front and back together, line up the shoulders always starting from the armhole towards the neckline. Often one peice will have a little corner at the neckline that will not match up with anything until after it is sewn. Pin and overlock the pieces together.
2. With right sides of the sweater together, match up the front and back side seams, pin, and overlock.
Sleeves
3. Line up the underarm seam of the sleeve and stitch together. Matching the start and end of the seam, work from the hem towards the underarm, this forces any discrepancies to the underarm edge, which can be corrected when sewing the sleeve onto the body.
4. Turn the sleeves right side out and insert sleeve into the armhole, right sides together. Begin pinning the sleeve into the armhole, anchor it at key points — underarm sleeve, shoulder point, front and back notches.
Collar, Cuffs & Hem Binding *Ribbing is best to use for the finishings but not necessary.
5. With the shorts sides together, overlock the collar, cuffs, and hem binding pieces individually.
6. Starting with the collar binding, match up all anchor points (centre front, centre back, side seams) and pin to the neckline. The collar binding is much smaller than the neckline itself so you will need to stretch each quarter section when you are overlocking.
7. Next are the cuffs, the same process applies. Match up and pin the notches and seams together. You will also need to stretch the sections in between the anchor points so that the cuffs fits perfectly.
8. Final step: attach the hem binding to the hem of the sweatshirt using the same technique for the collar and cuffs to complete!
**You can give the collar, cuffs, and hem binding a bit of a press to give it a cleaner and more polished seam finishing (:

