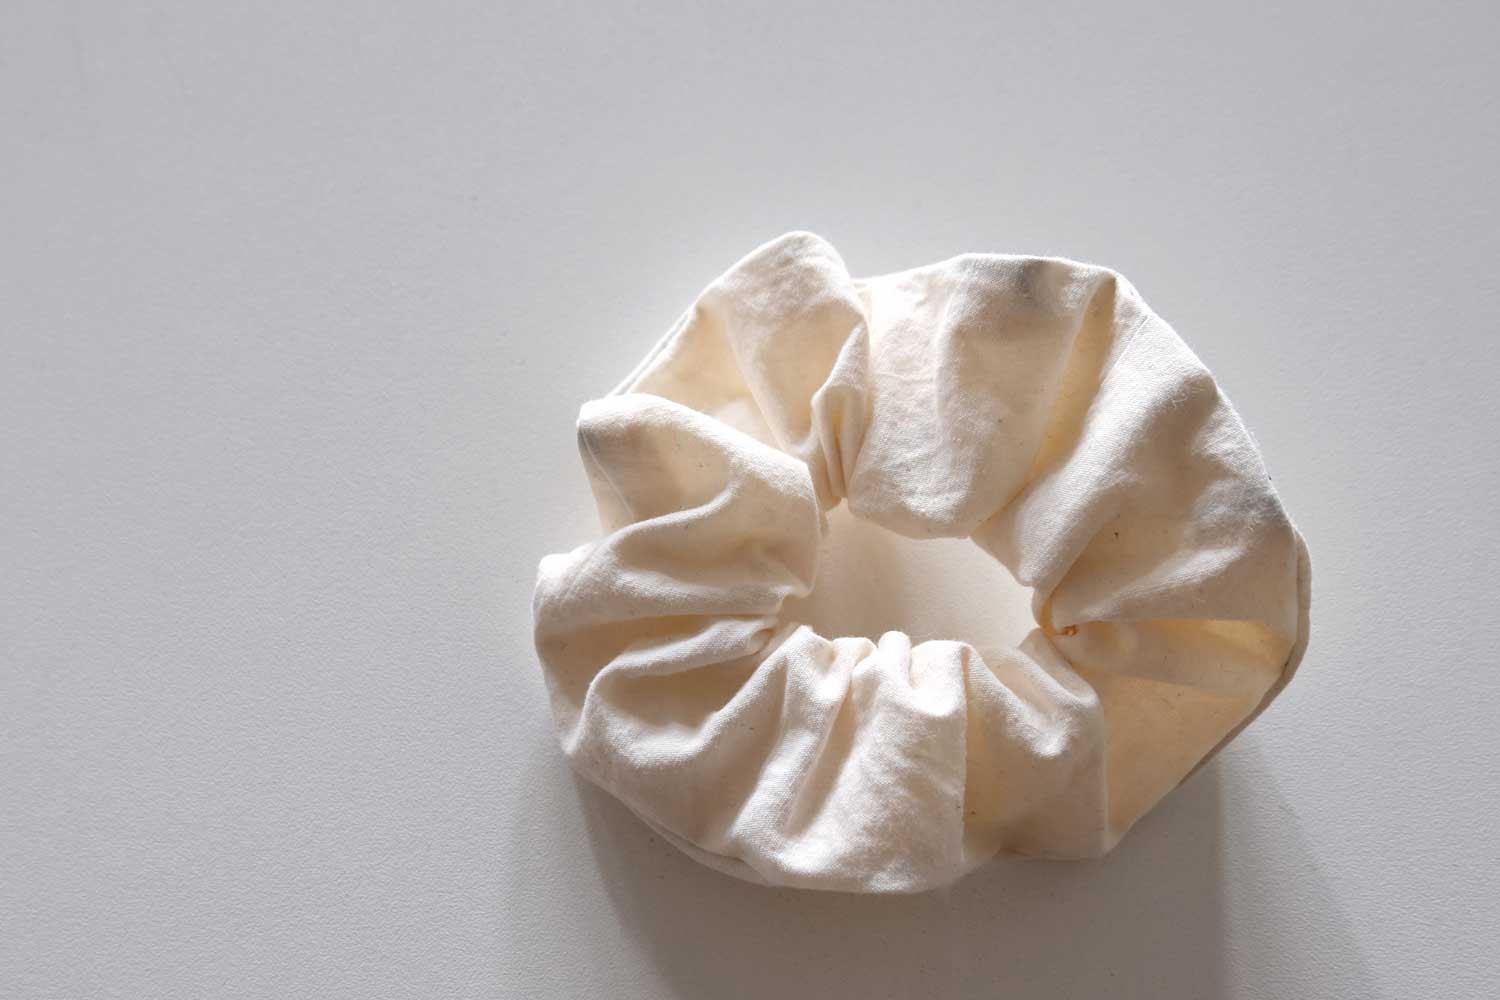
Scrunchie Tutorial
Tools & Materials
- Fabric
- Elastic
- Safety Pin
- Marking Pen or Chalk
- Thread
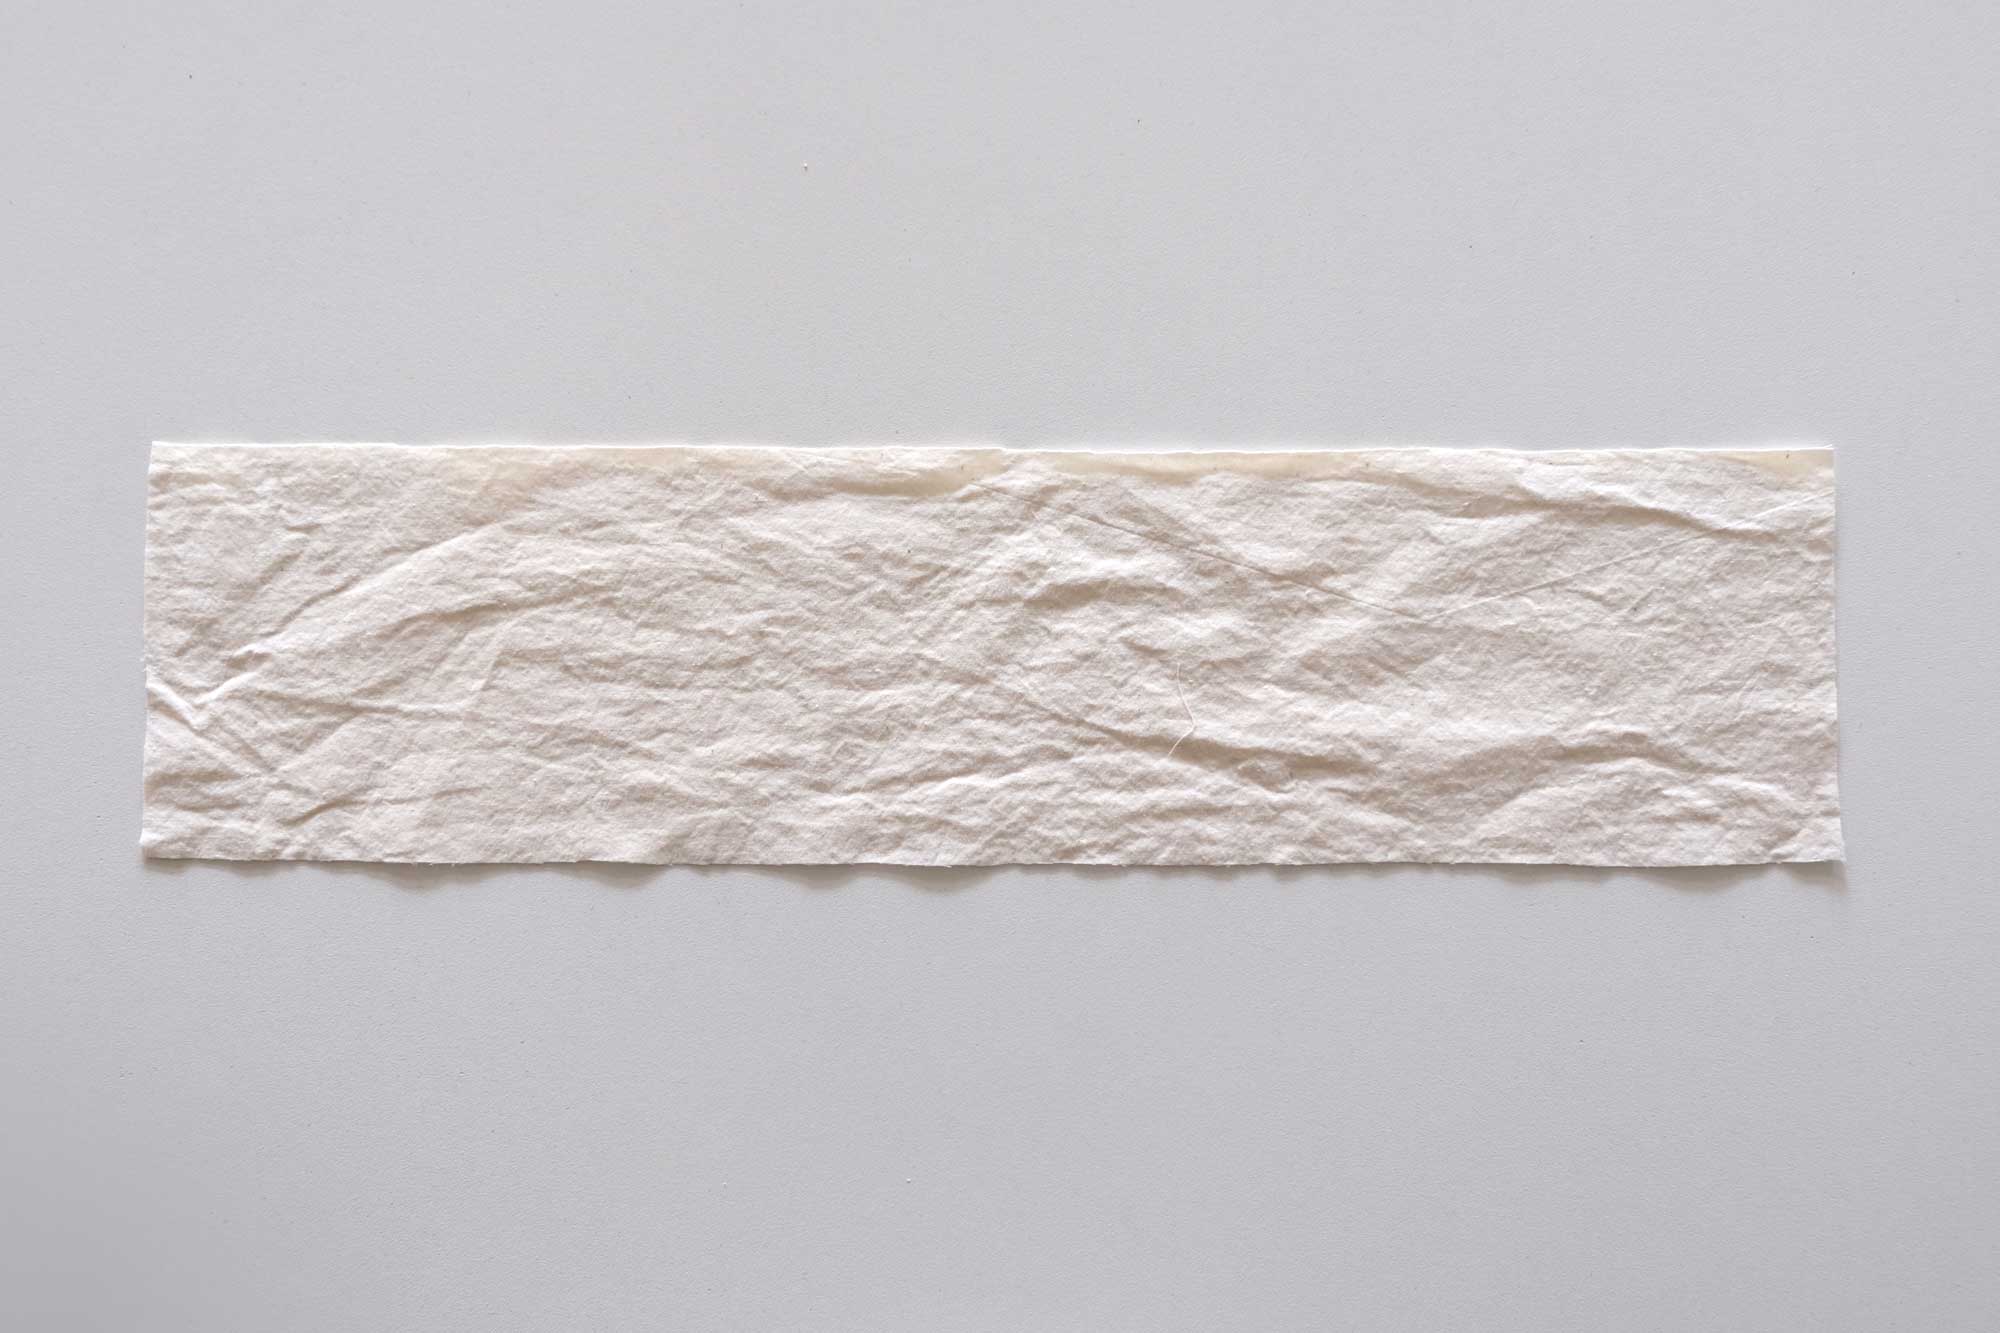
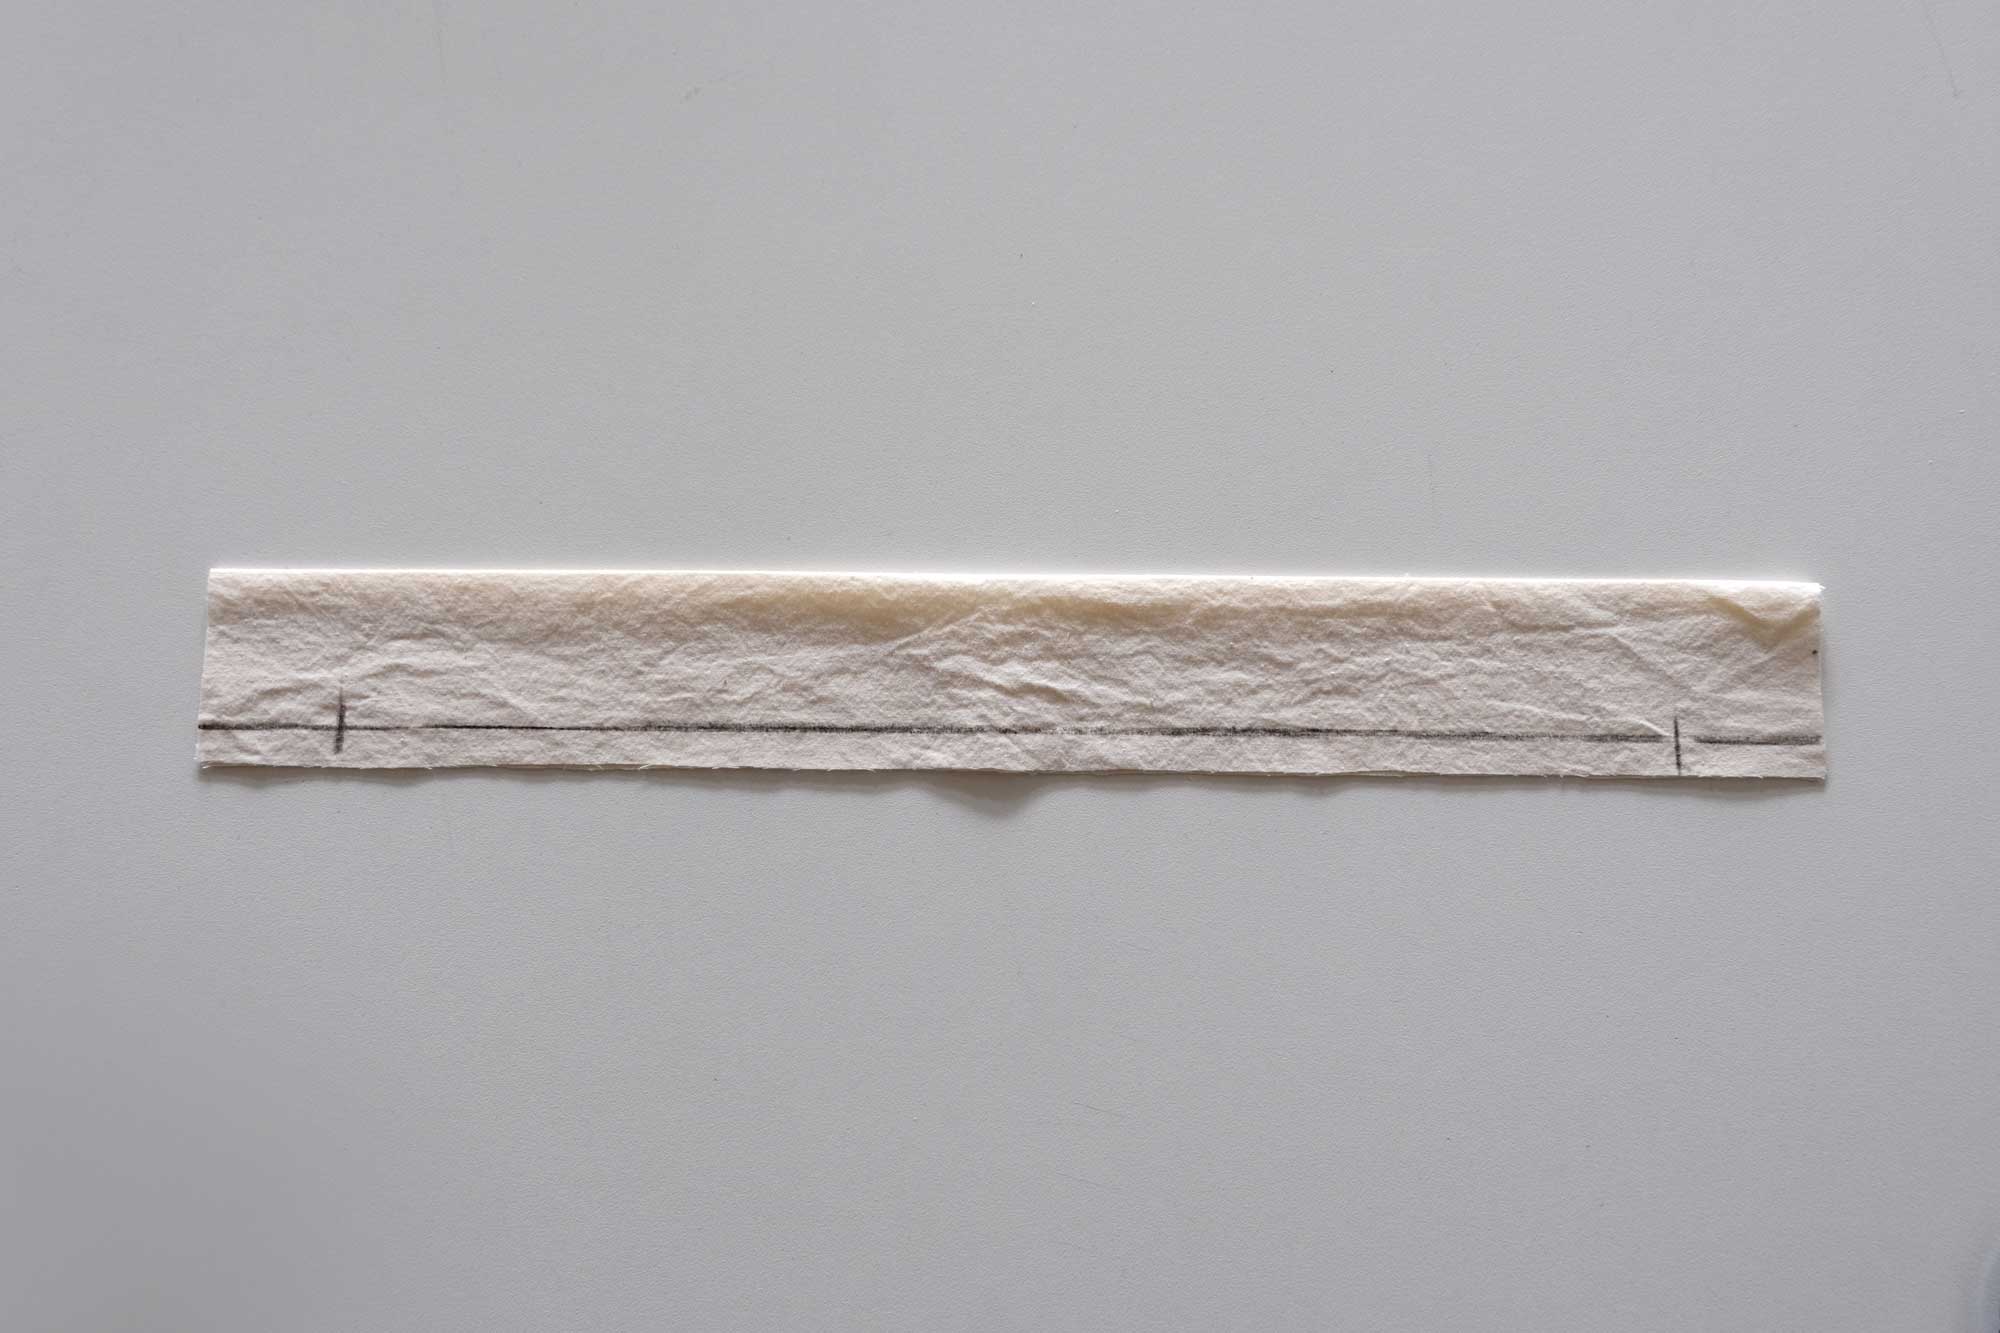
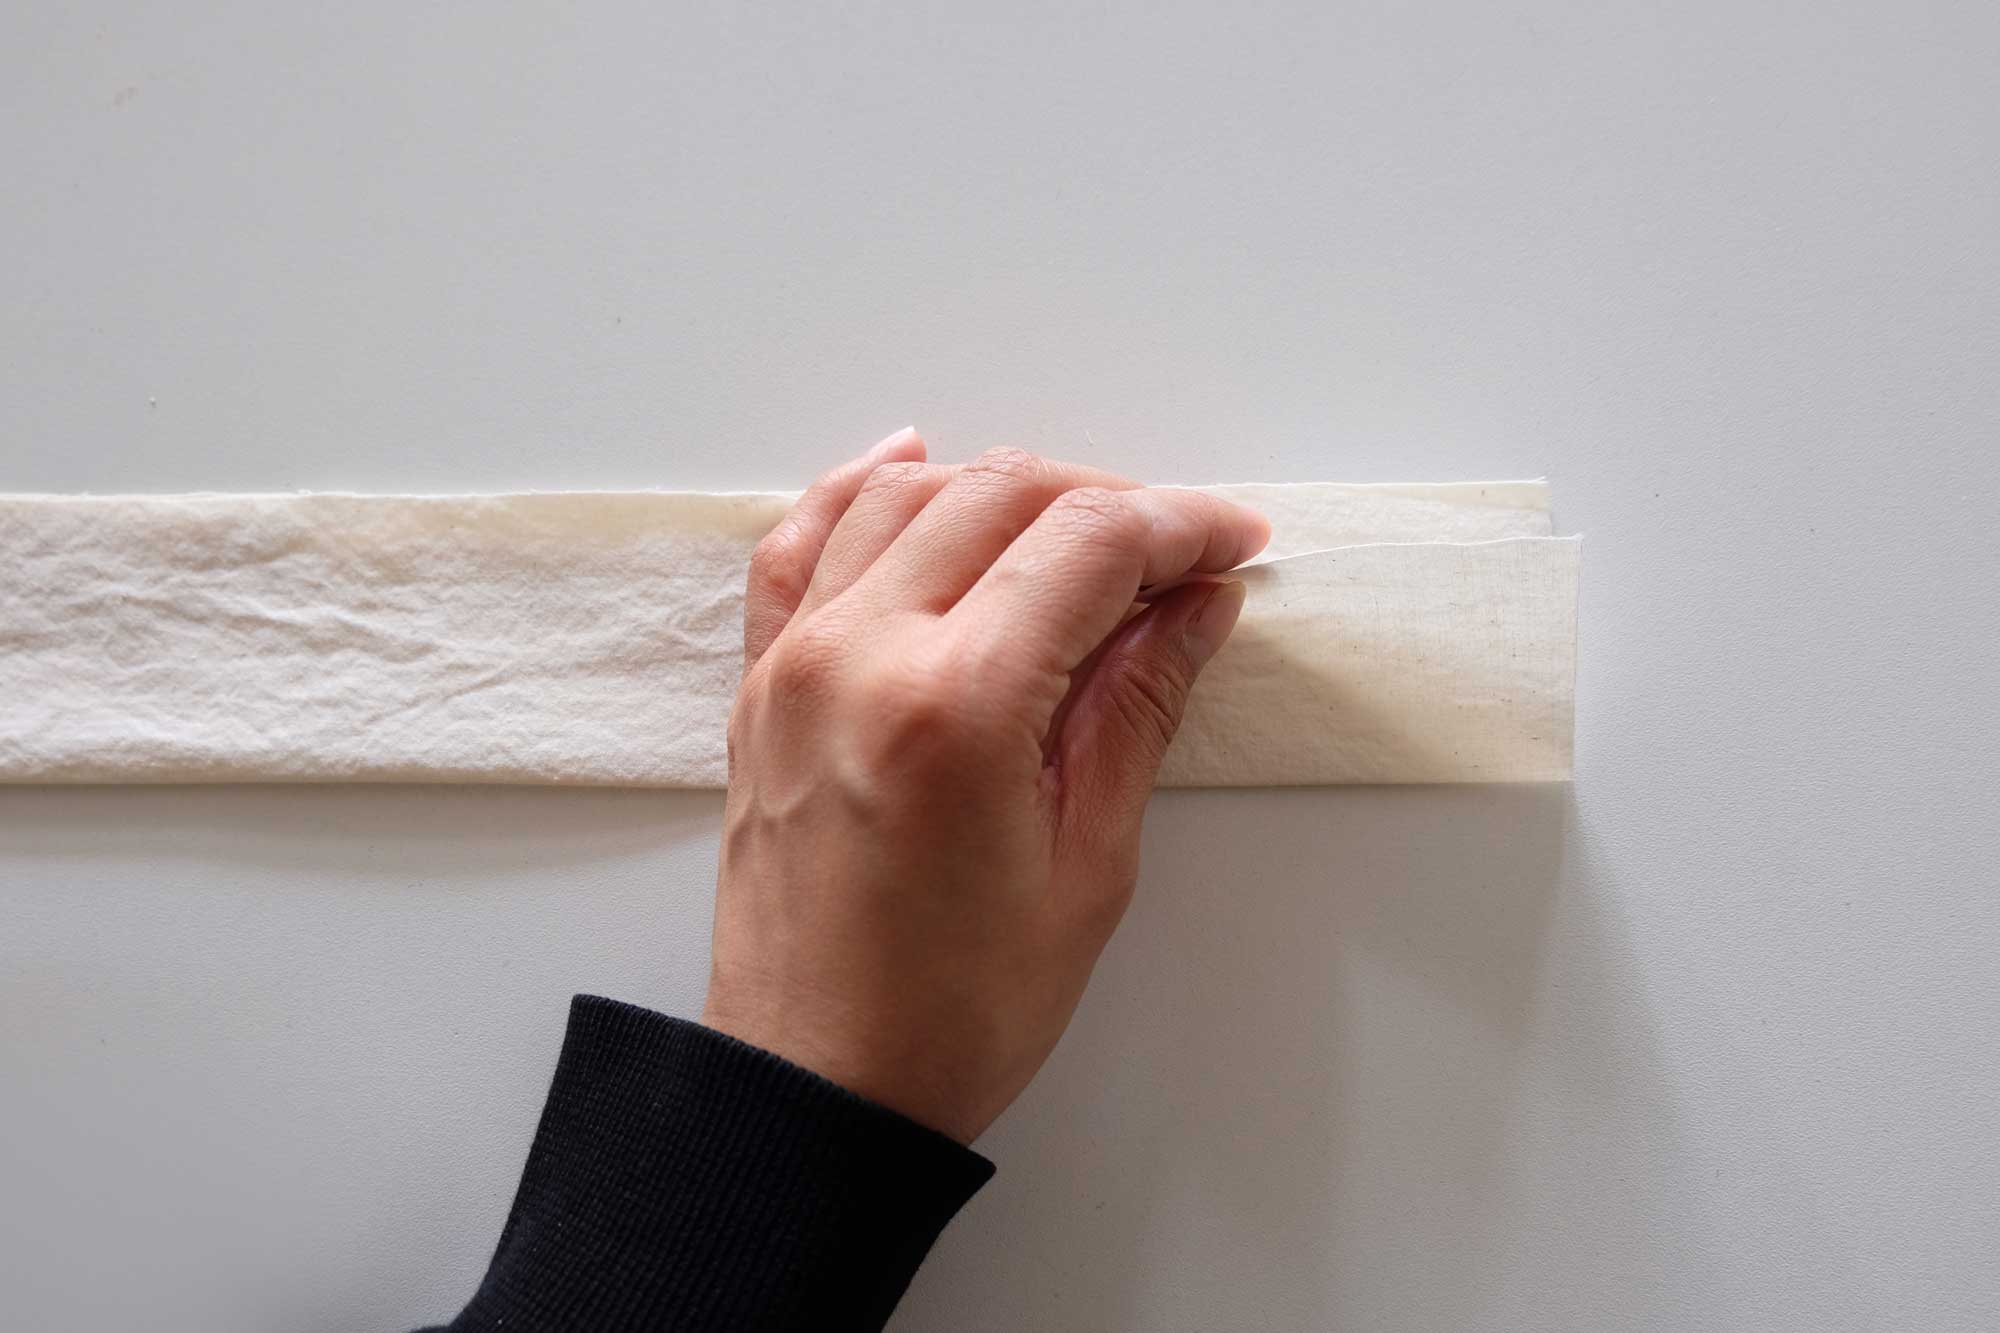
1. Fold the fabric in half length wise, right sides together, wrong side facing you.
2. On each end, mark a line 4 cm from the edge of the fabric. This will be your starting and end point. If you are doing this by hand or need additional guides, mark a straight line 1 centimetre from the edge. This will help you stitch in a straight line. If you are doing this by hand, use the backstitch method.
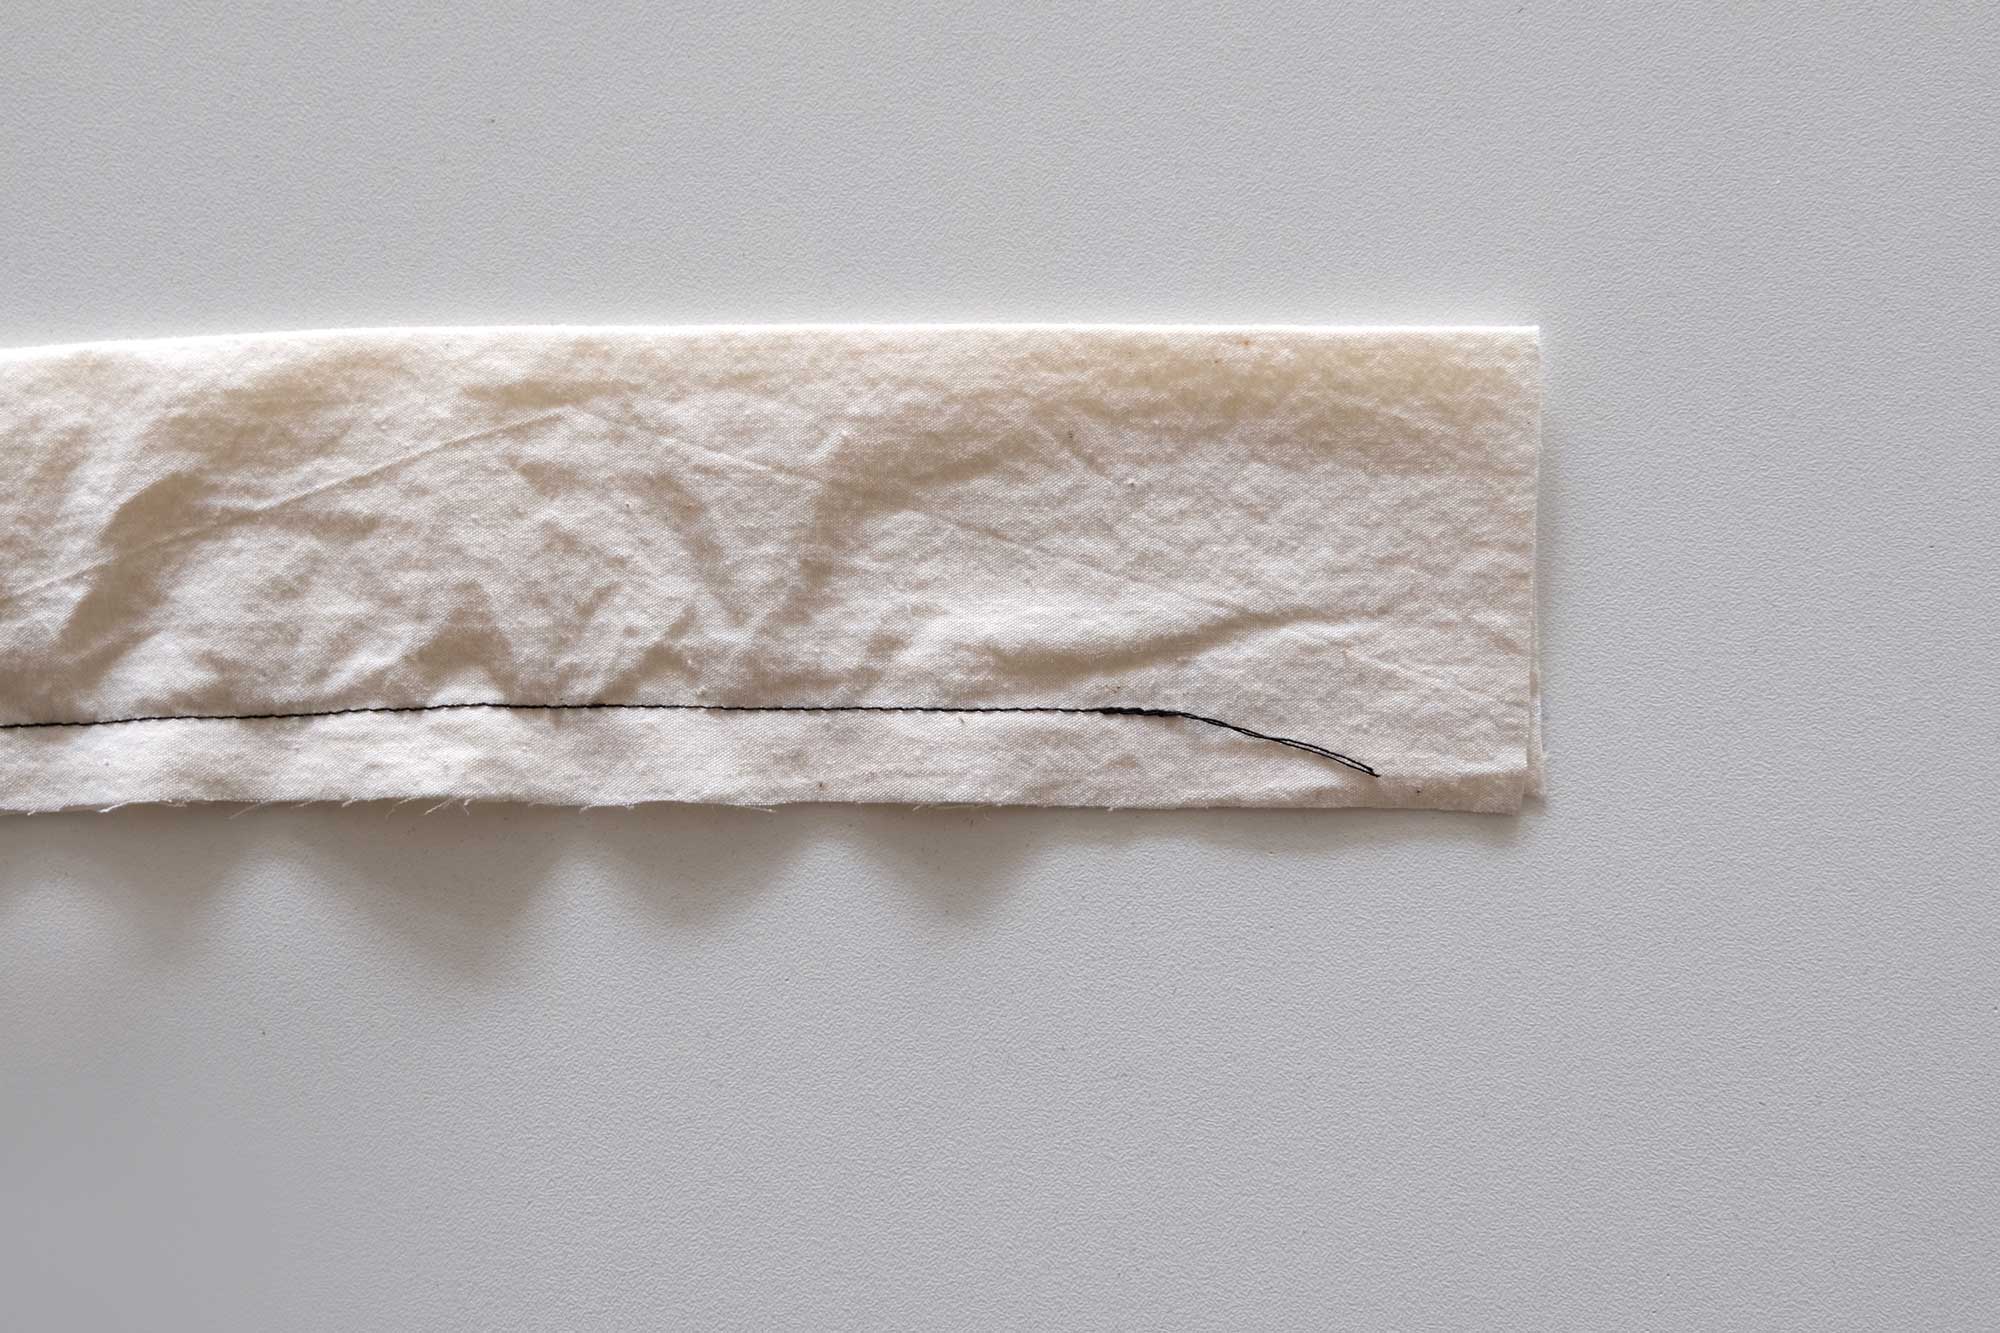
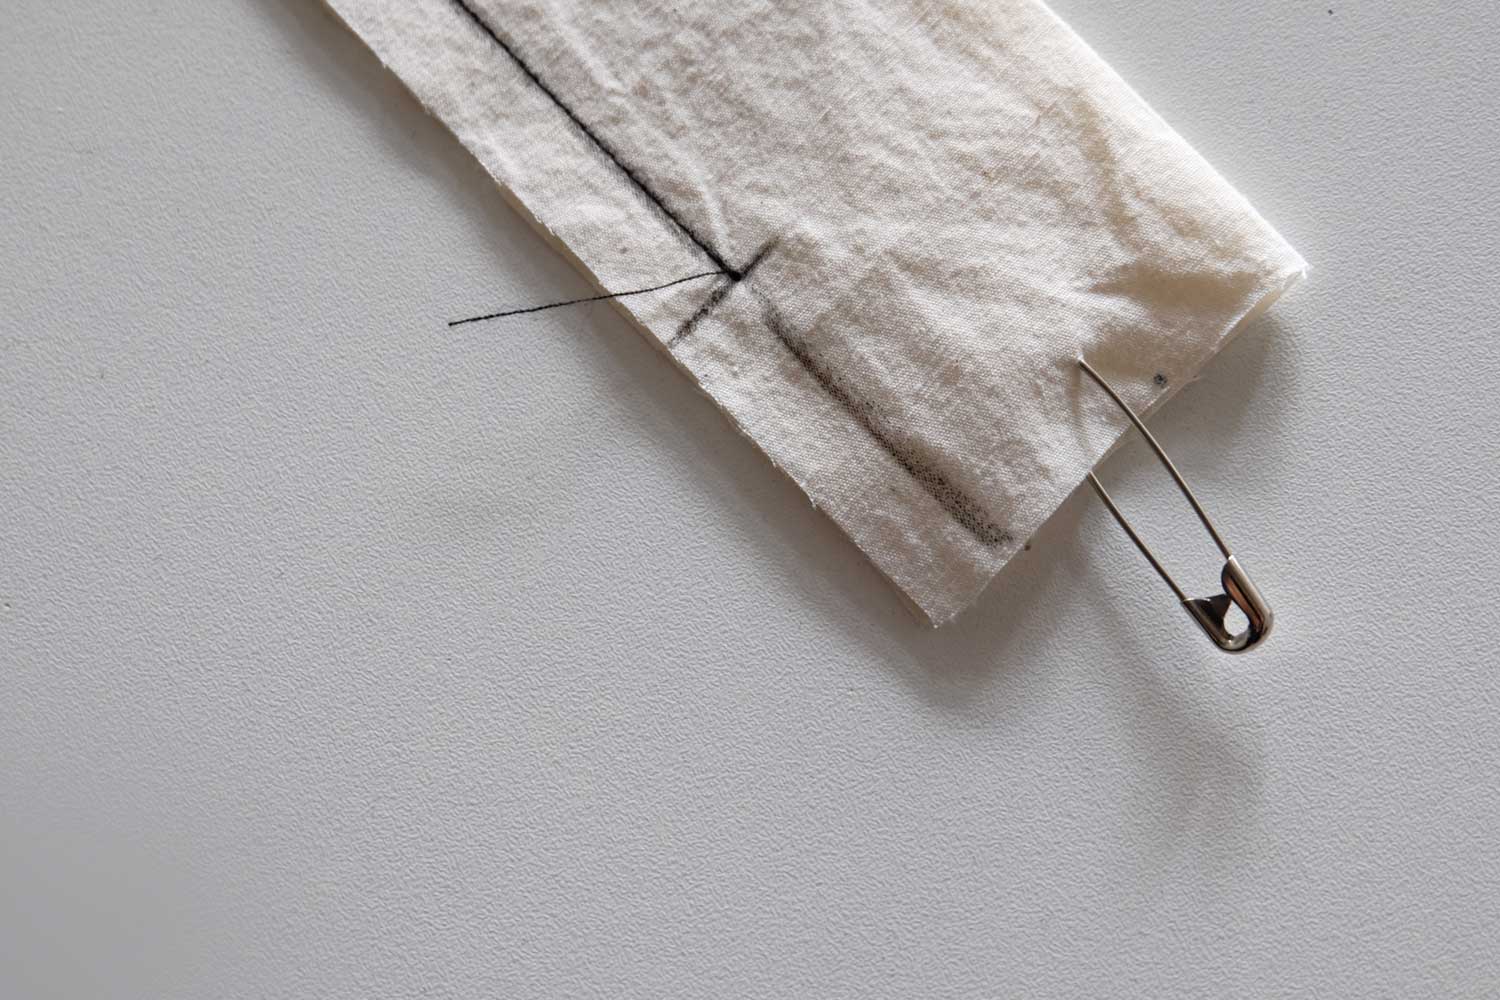
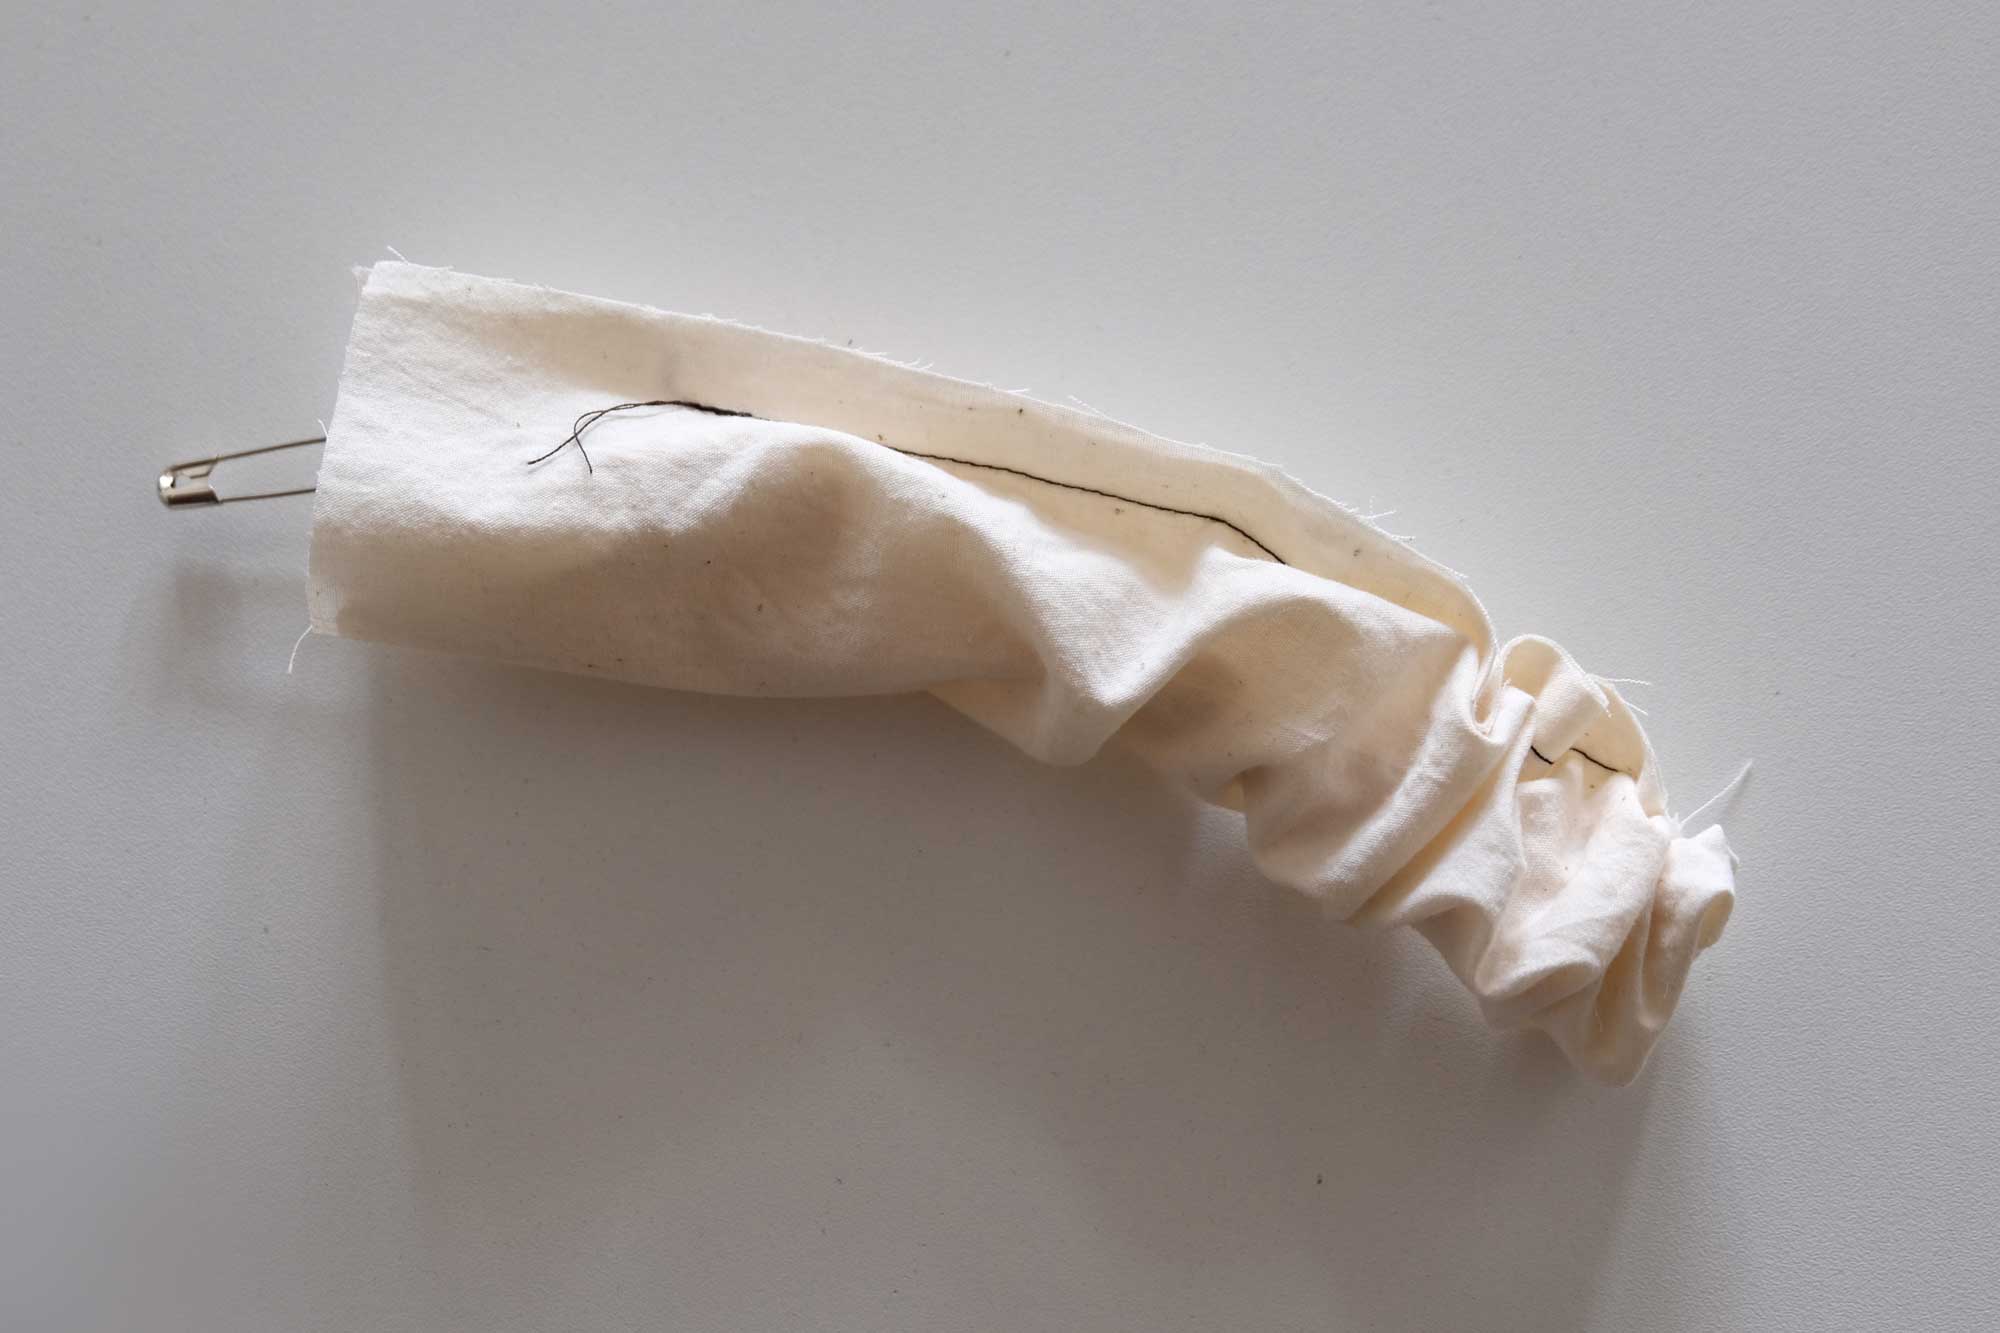
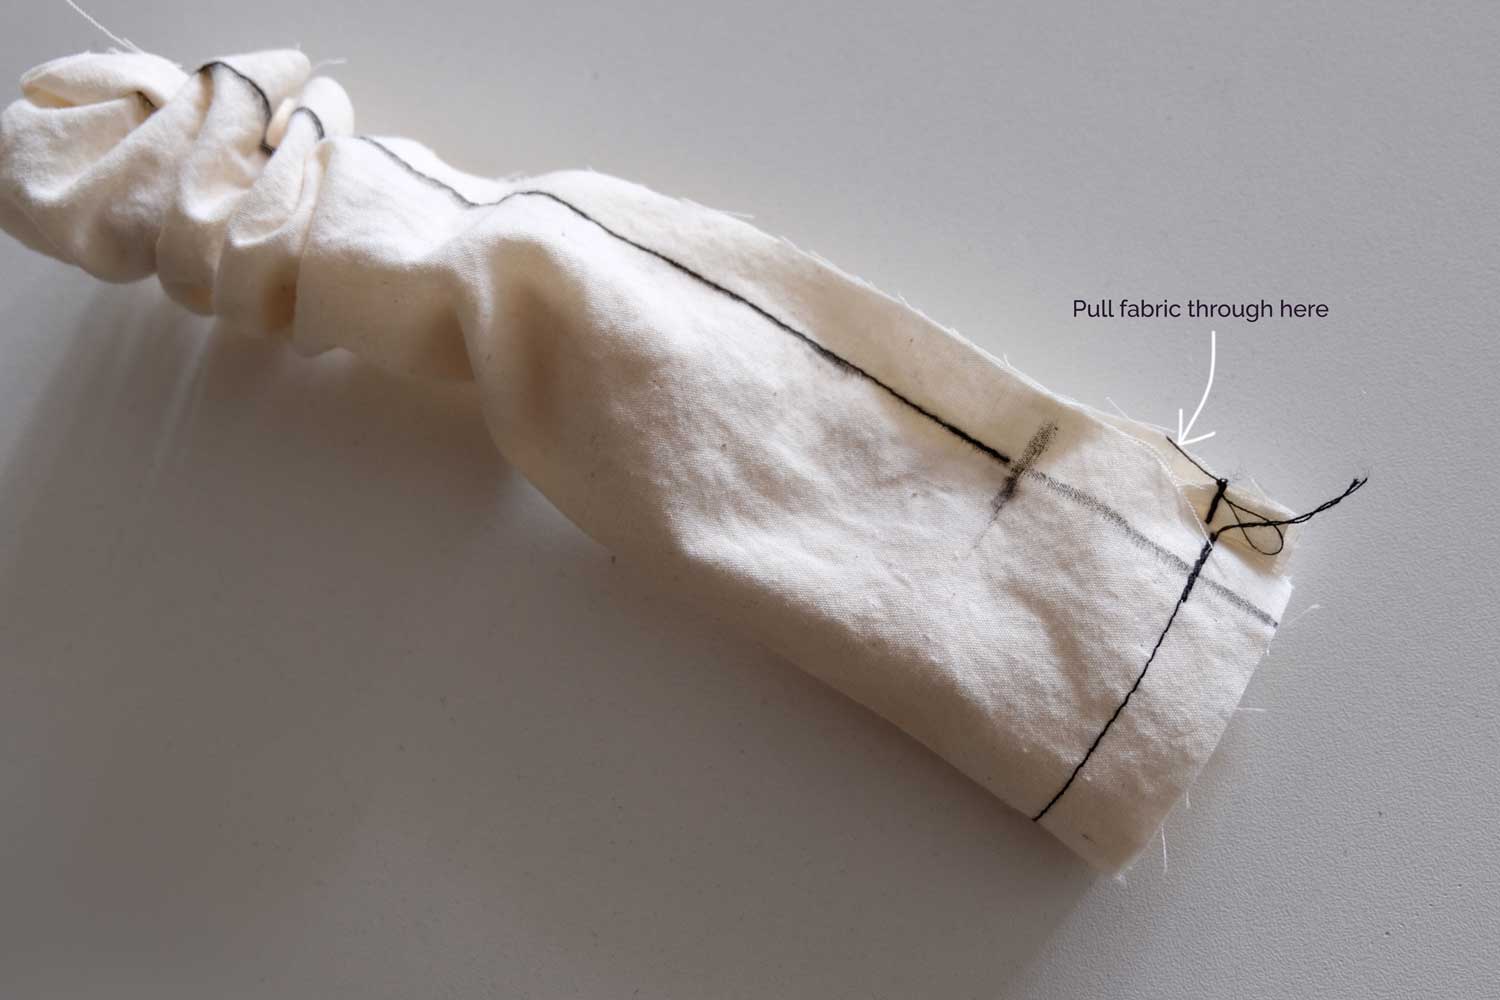
3. With a safety pin attached to one end, utillise the pin to weave through the inside of the tube. Do not pull the entire thing through, we still have another stitch to sew.
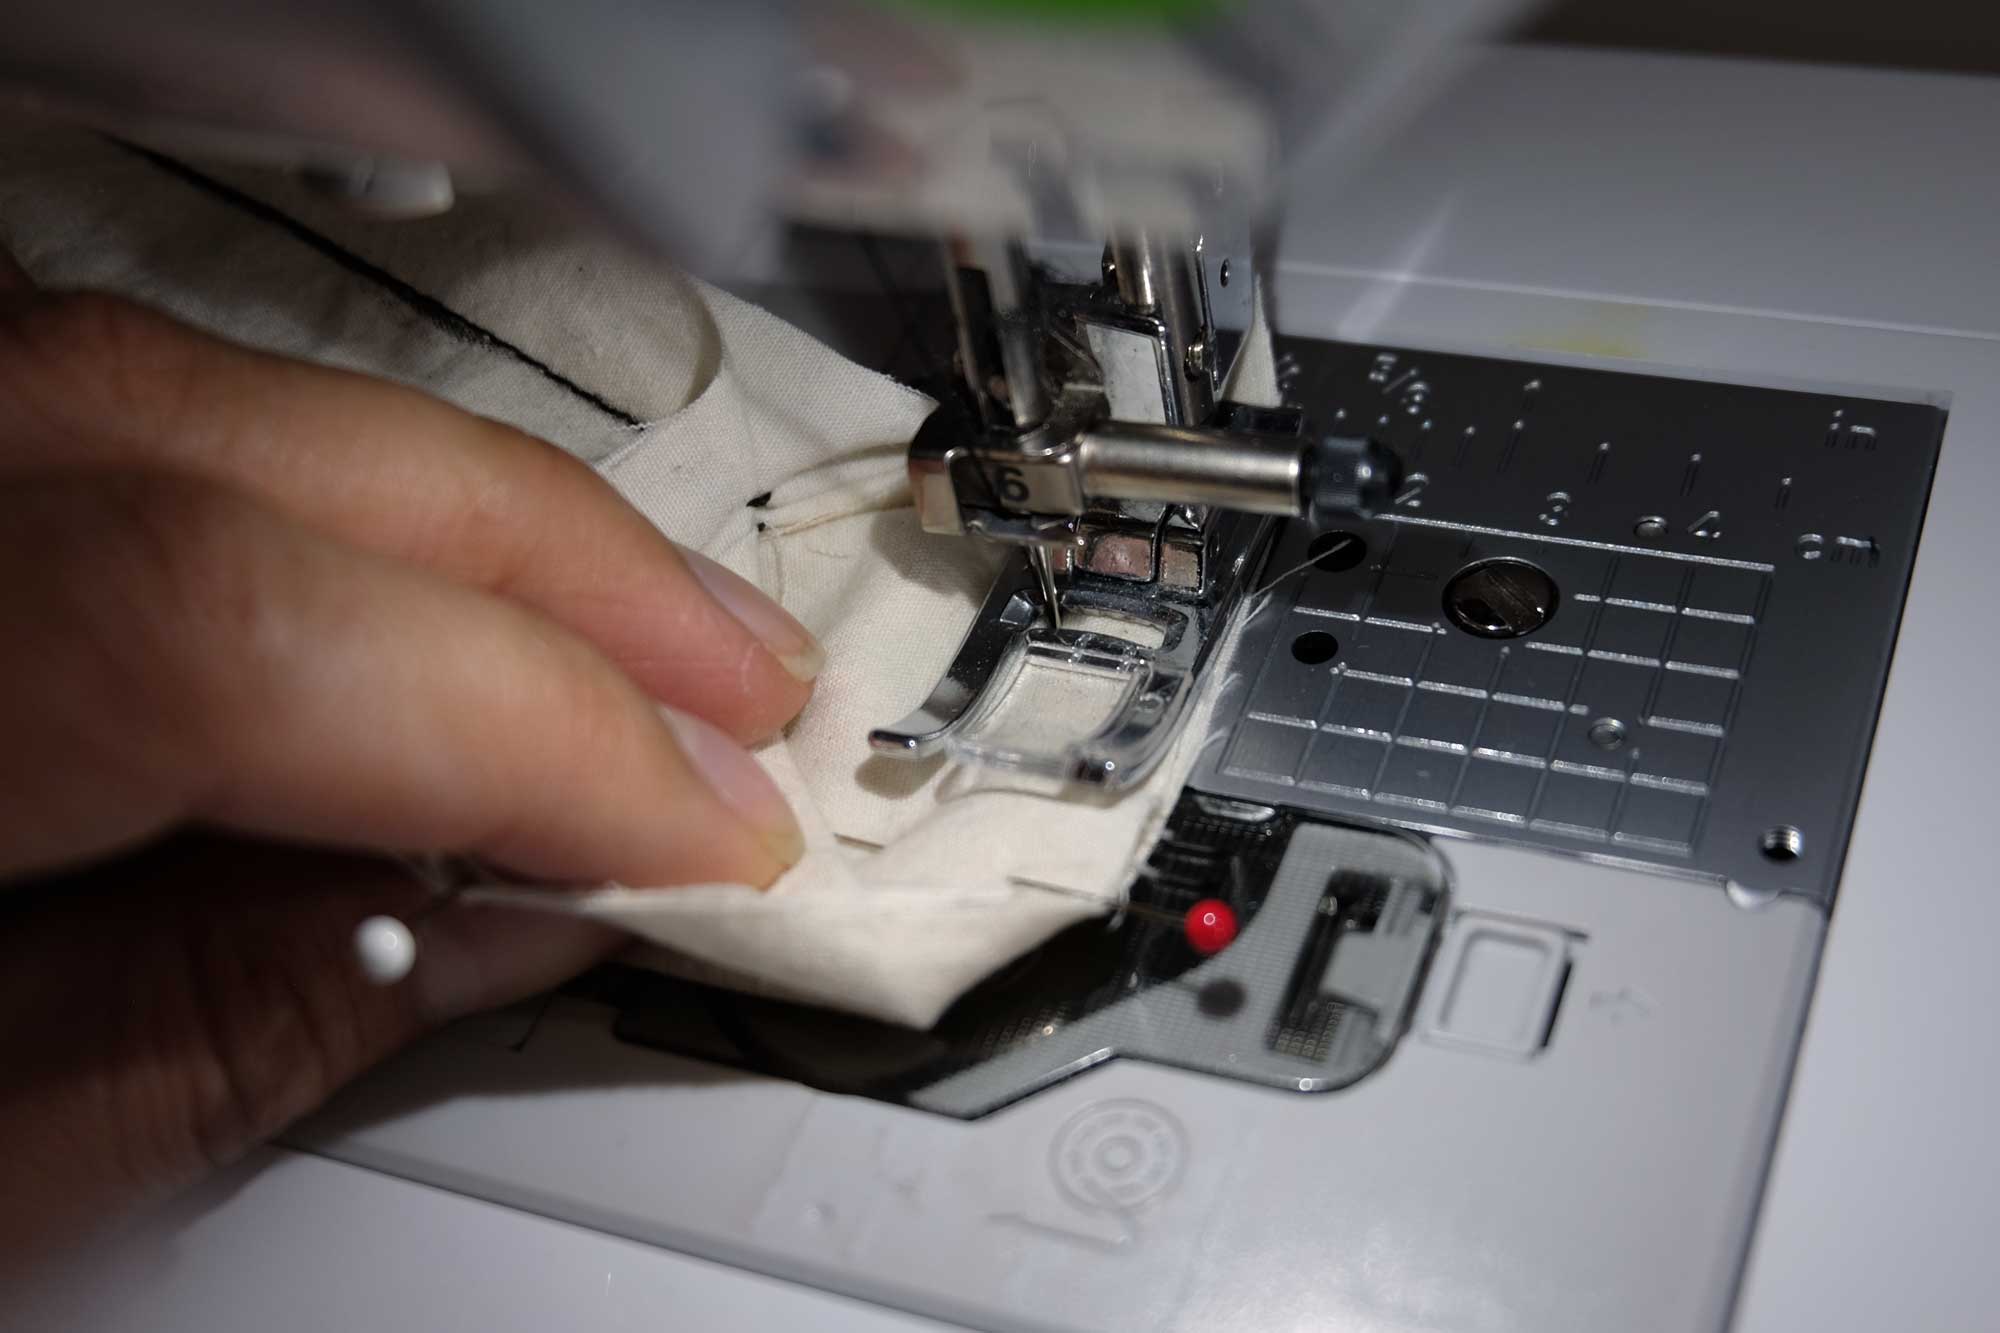
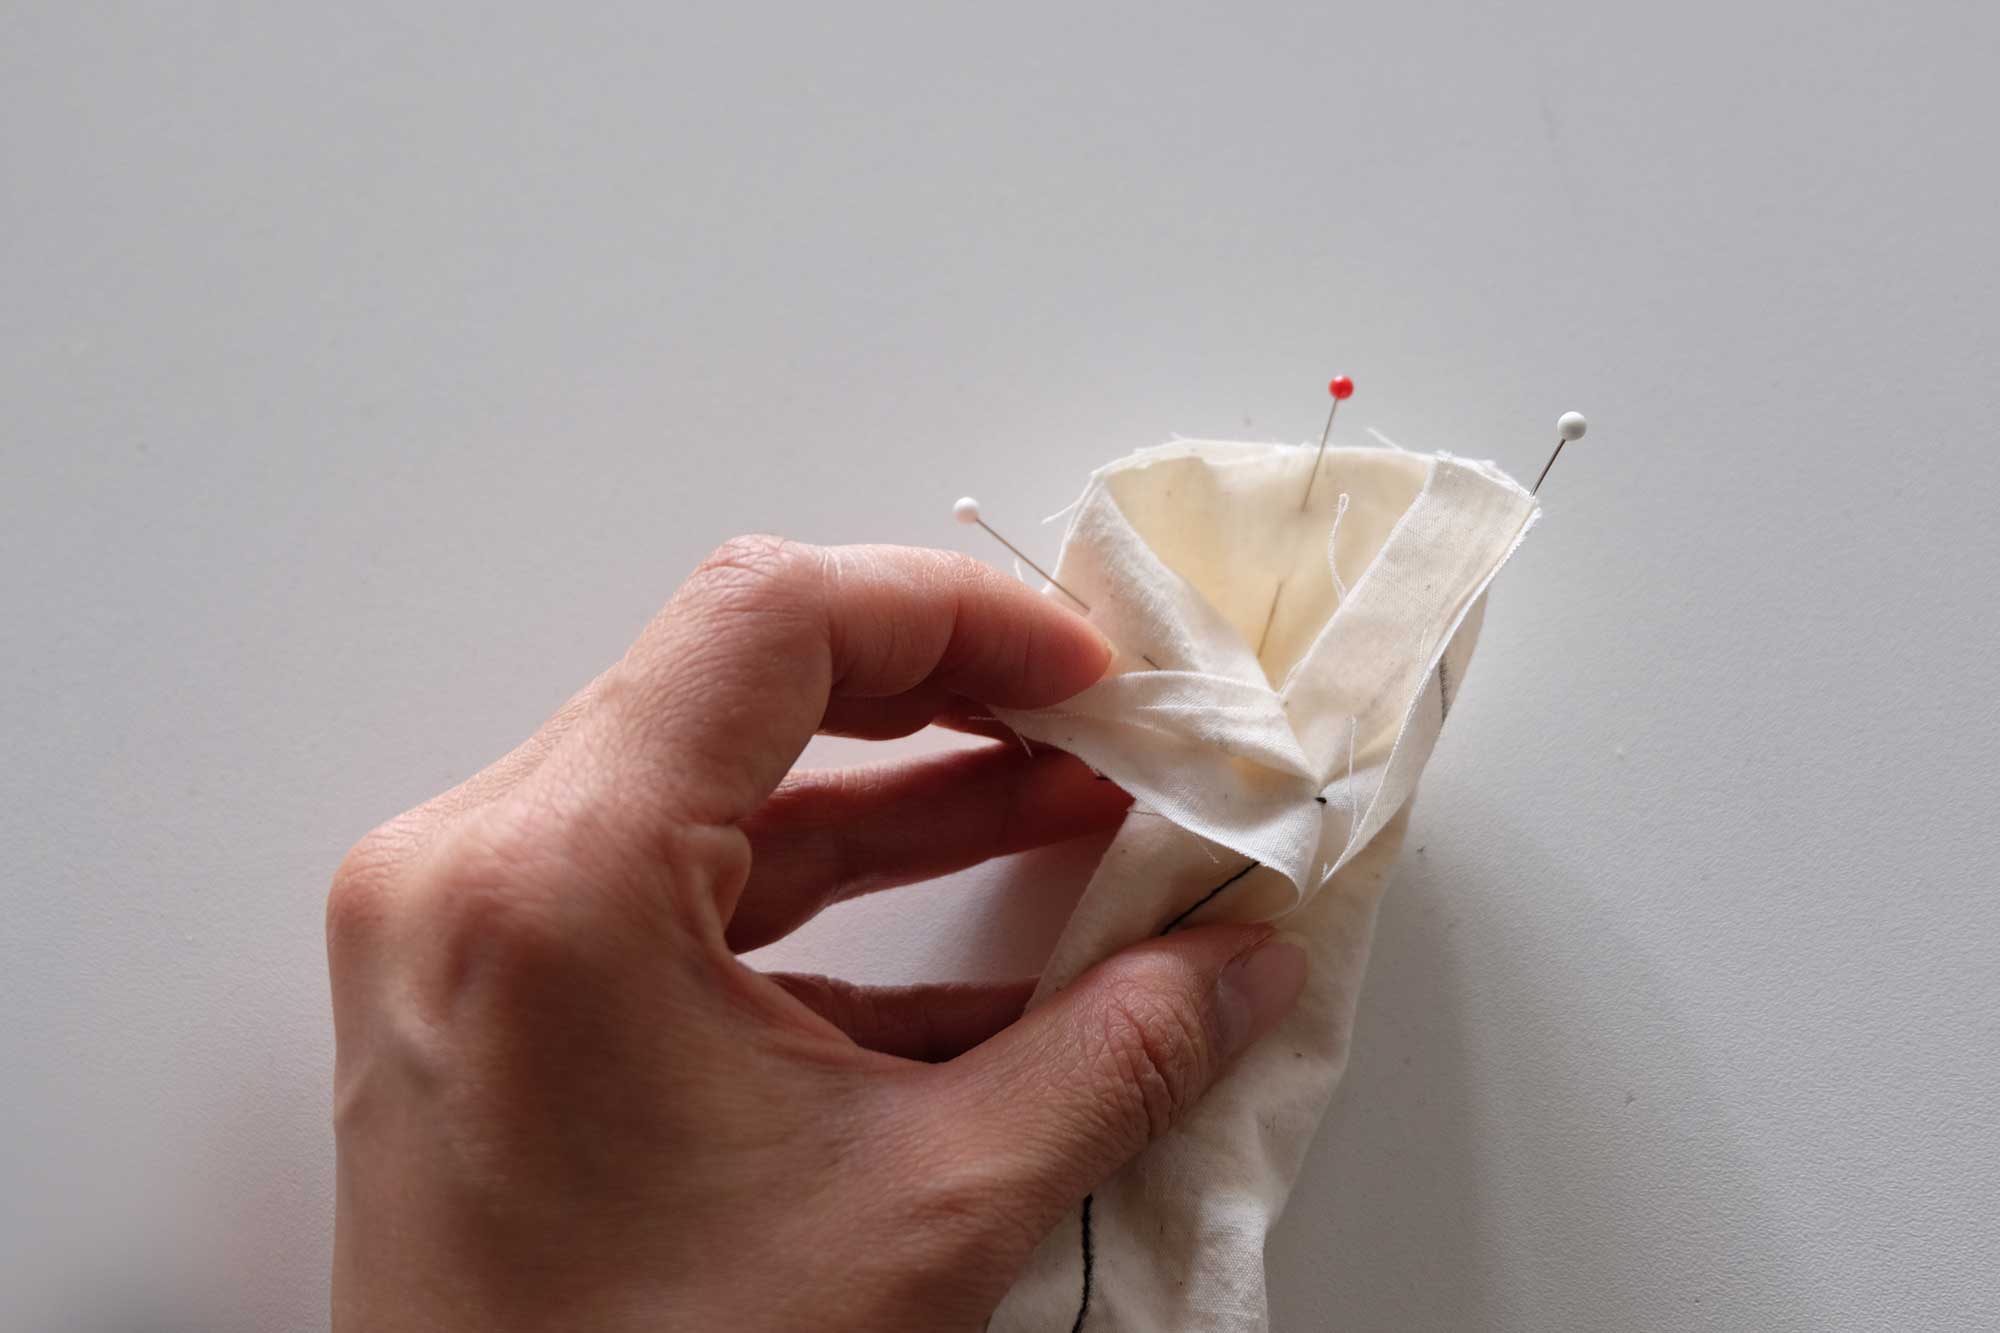
4. Unhook the pin from the fabric and line the edges together. Use pins to help keep everything in place and stitch the short ends together, 1 centimetre from the edge.
5. Turn right side out through the seam gap, reach through the gap in the stitching from step 2 and turn the scrunchie right side out. It should look like a ring.
*Pro Tip: If you give the seam a good press with an iron, it will help with closing the gap by hand at the end.
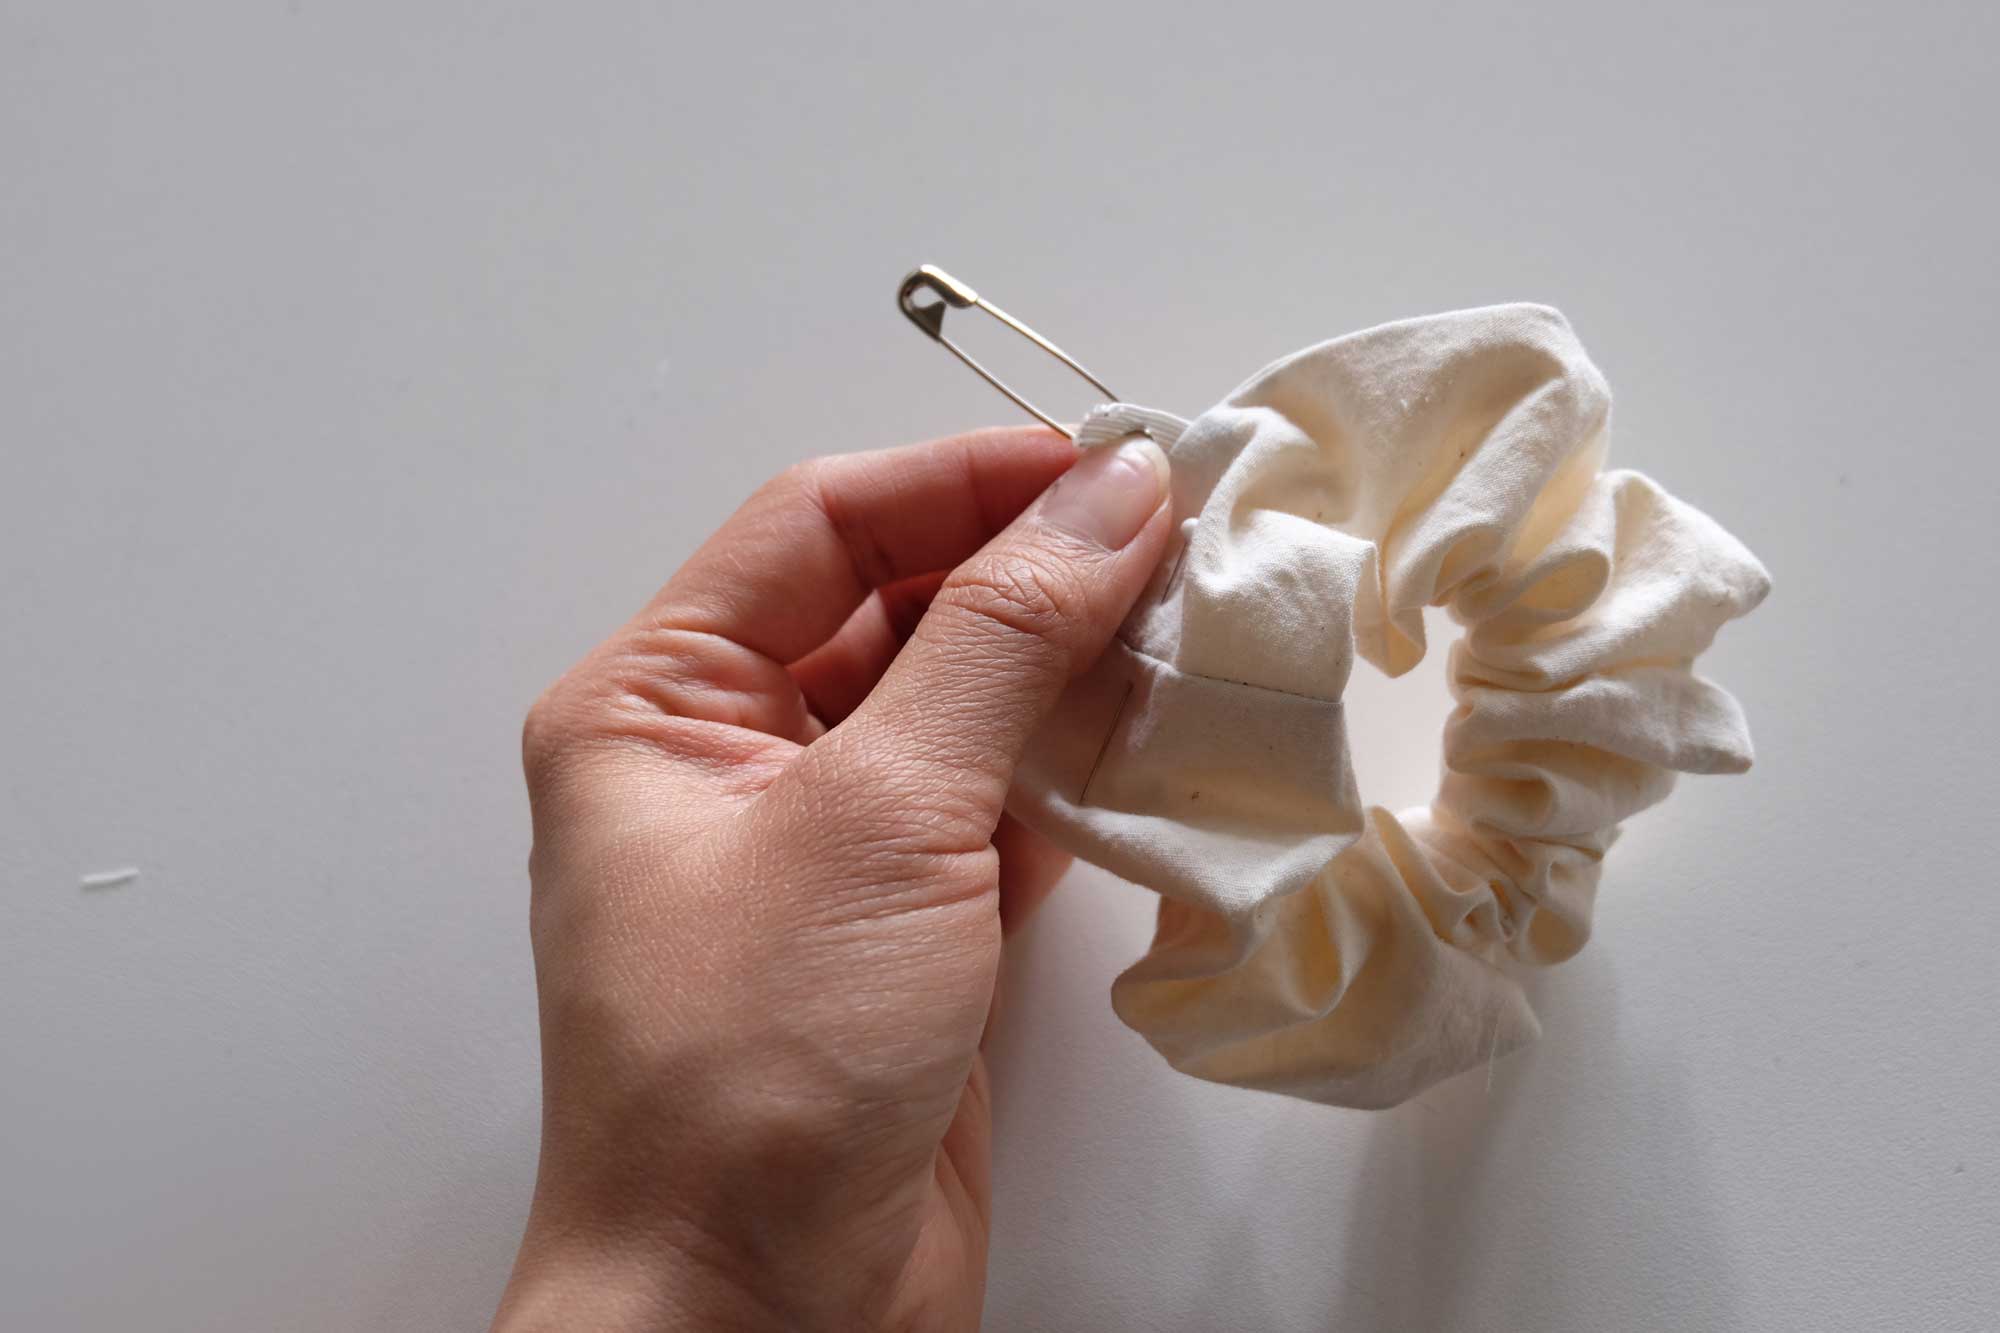
6. Time for the elastic! Attach the safety pin through one end of the elastic and feed the elastic through the tube. Be careful not to lose the elastic end inside or you will be starting all over again!
*Pro Tip: You are less likely to lose the elastic if you pin one end of it to the fabric!
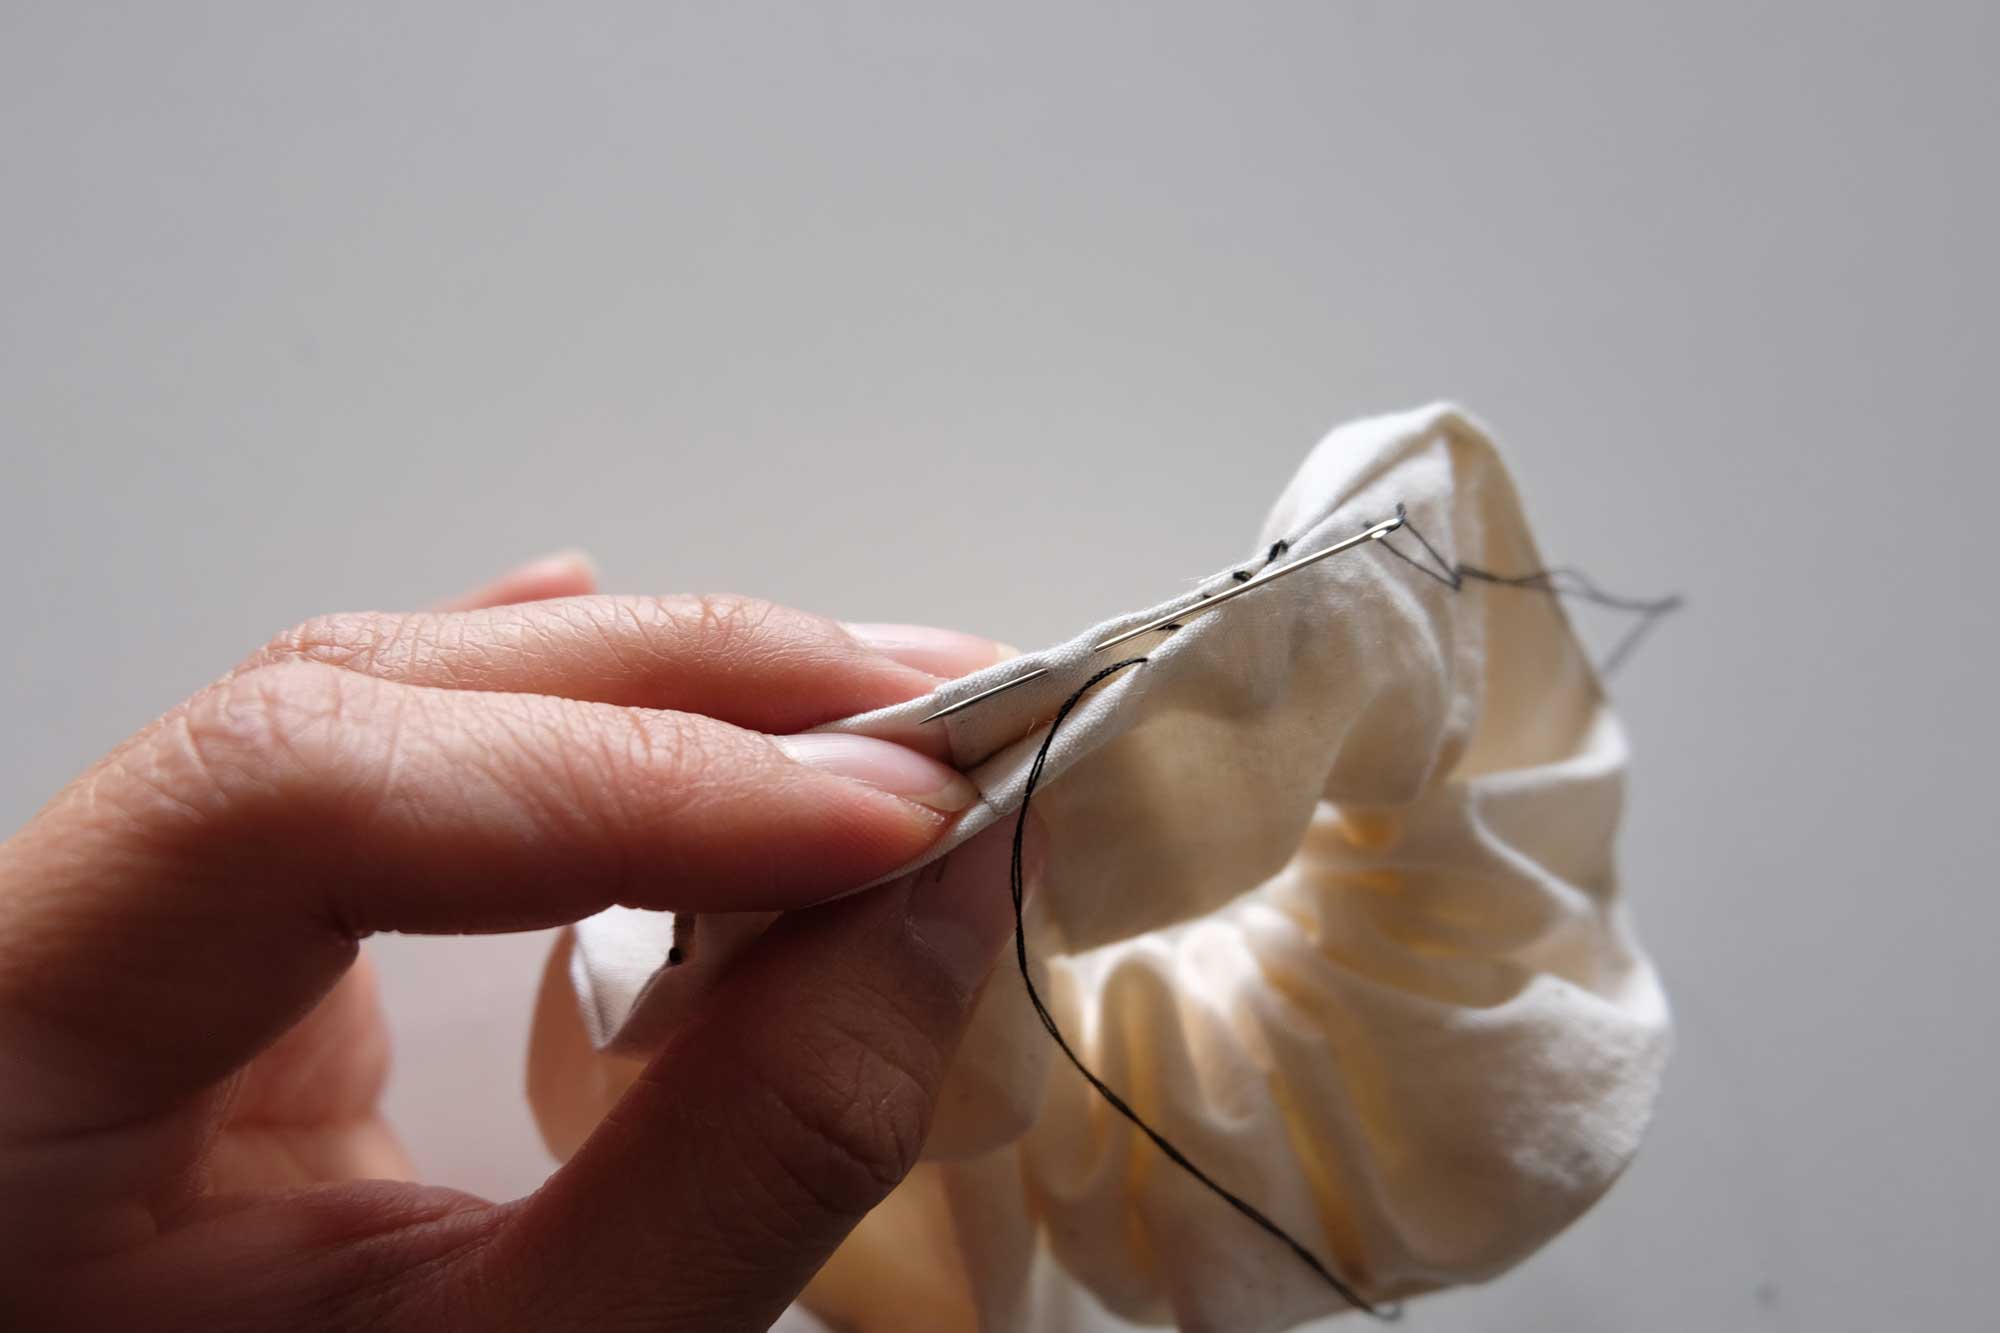
7. Overlap the ends of the elastic at least 2 centimetres then stitch together by hand or machine. Final step, ladder stitch the gap closed and you are finished! Well done (:
