Lined Wash Bag Tutorial
Tools & Materials
- Drafting Paper (You can use kraft paper, recycled paper, newspaper, etc)
- Ruler (Grid rulers work best for pattern making)
- Tailors Chalk
- 1 x 12″ Closed End Zipper
- Twill Tape or Grosgrain
- Fabric + Lining
- Zipper Foot
- Thread
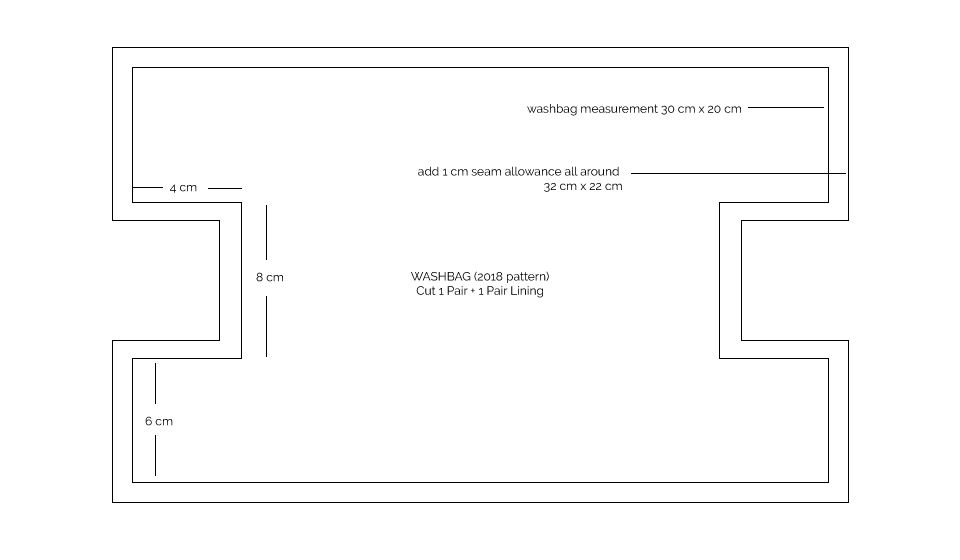
1. Start off by drafting a 30 cm x 20 cm rectangle. Make sure your vertical and horizontal lines form a 90 degree angle. Add a 1 cm seam allowance around bringing the finished pattern measurements to 32 cm x 22 cm.
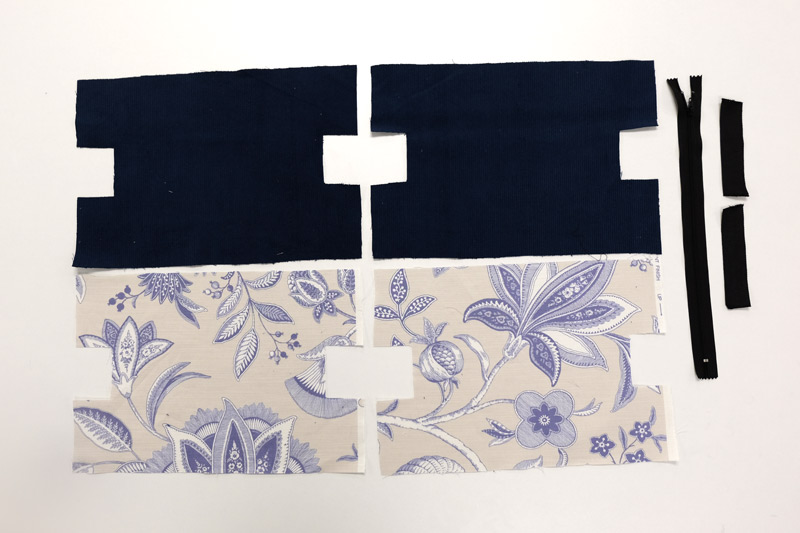
2. Cut 2 x outer fabric and 2 x lining.
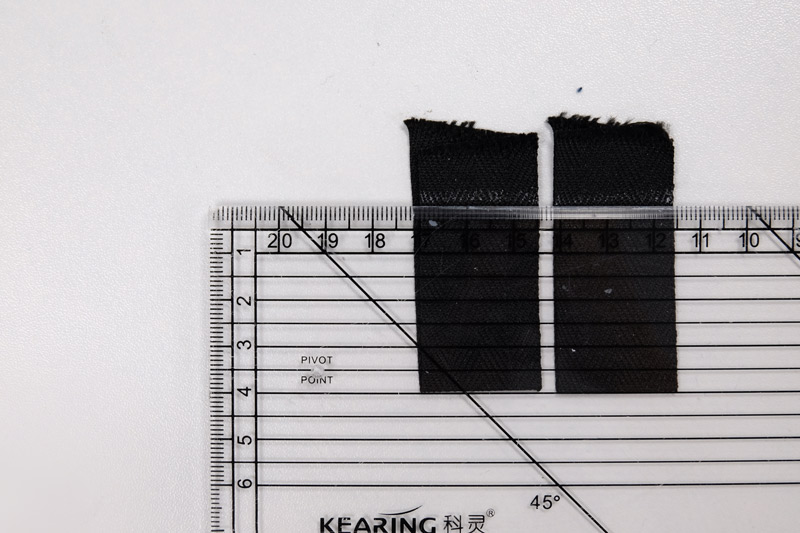
3. Cut 2 x 10 cm lengths of twill tape.
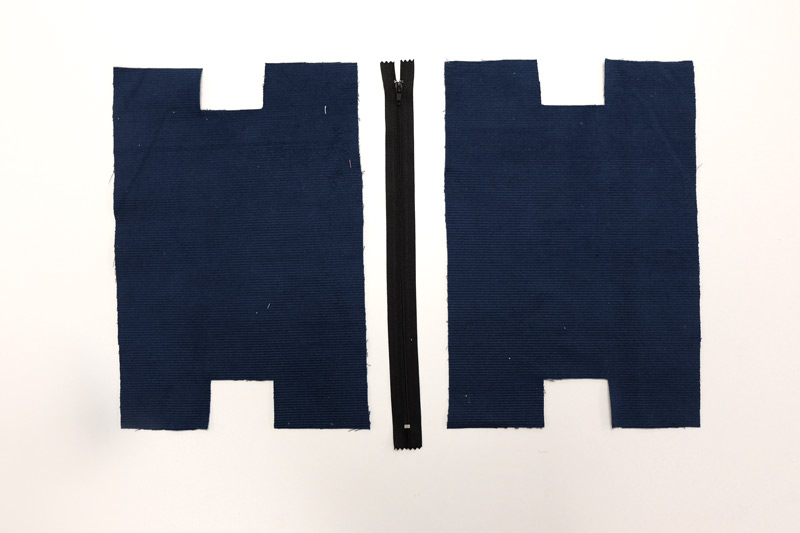
4. Once you have your pieces cut out, use your chalk to mark 1.5 cm from the short edge. Alternatively, make a notch by making a small incision no longer than 3mm from the long edge.
Inserting the Zipper:
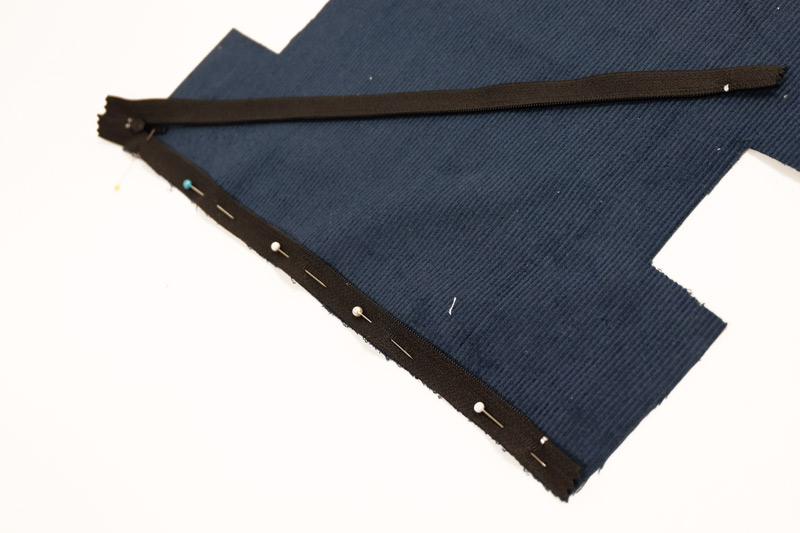
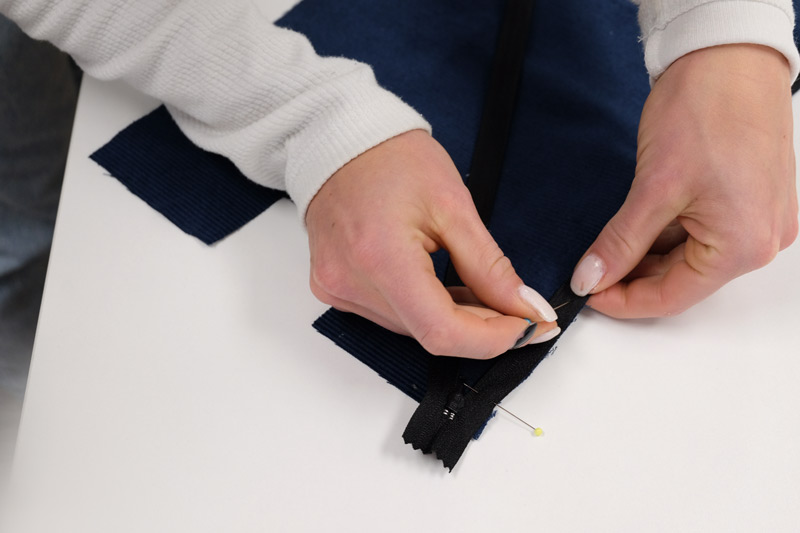
5. With the outer fabric good side facing up, place zipper (good side down) along the long side of the fabric. Lay lining good side facing down over top, lining up the edges. Be sure to match the top stop of the zipper exactly or slightly below your notch. Pin in place.
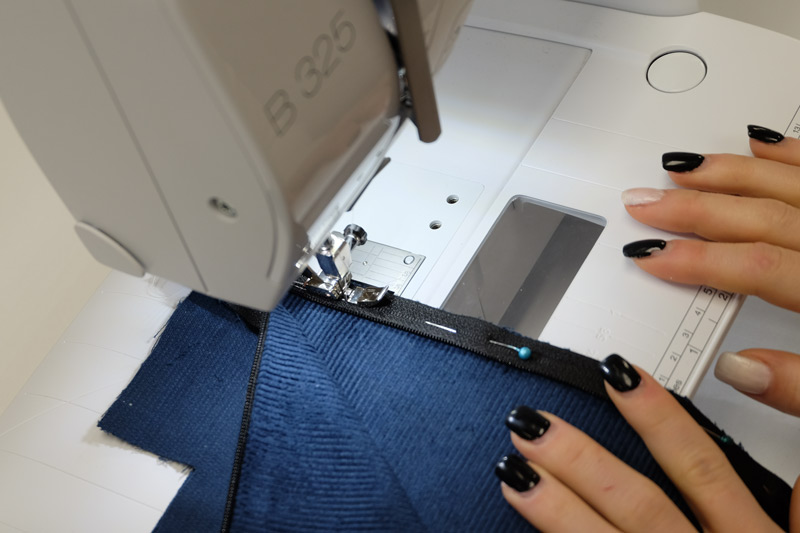
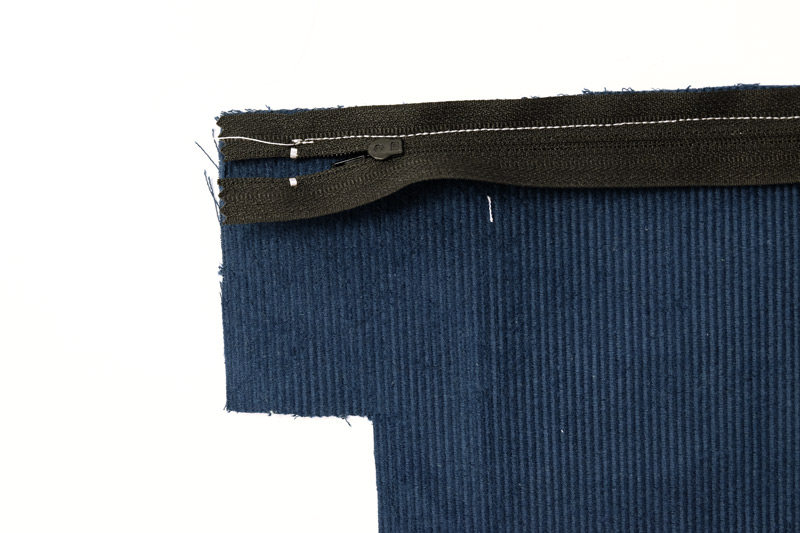
6. Ready to sew! Make sure you are using a zipper foot when inserting a zip. Start with the zip opened. Starting from your notch, sew a seam 1 cm from the long edge. Remember, seam allowance is always 1 cm unless stated otherwise.
7. Repeat for the other side of the zipper. Tip: When completed, right sides of outer fabric should be touching and right sides of lining should be touching.

Construction:
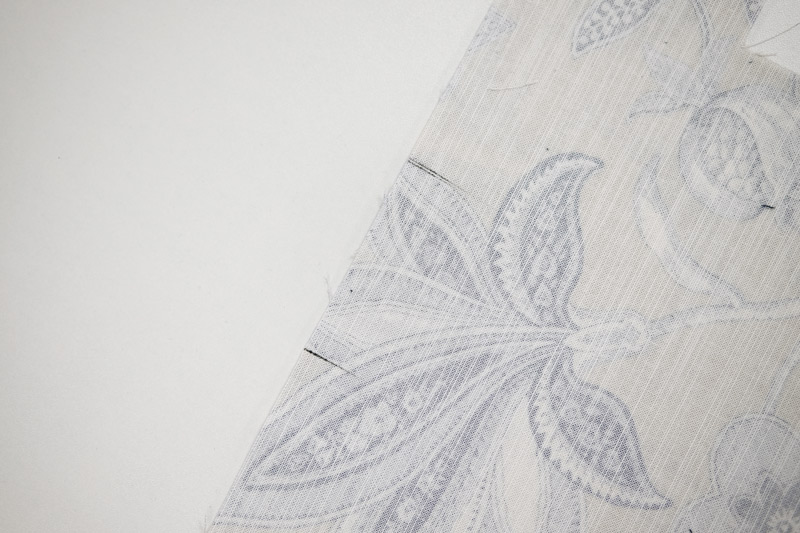

8. Once you have successfully inserted both sides of the zipper, flip all the fabric pieces back so the wrong side of fabric are facing. Press your seams flat with the iron.
9. Match up the outer and lining pieces. Remember, outer with outer, lining with lining. Sew a seam (1 cm seam allowance) on the outer pieces only. For the lining pieces you will be leaving a gap in the centre, roughly 10 cm wide. This is the gap we will be pulling the bag through. Sew on either sides of the marking, be sure not to sew the gap closed.
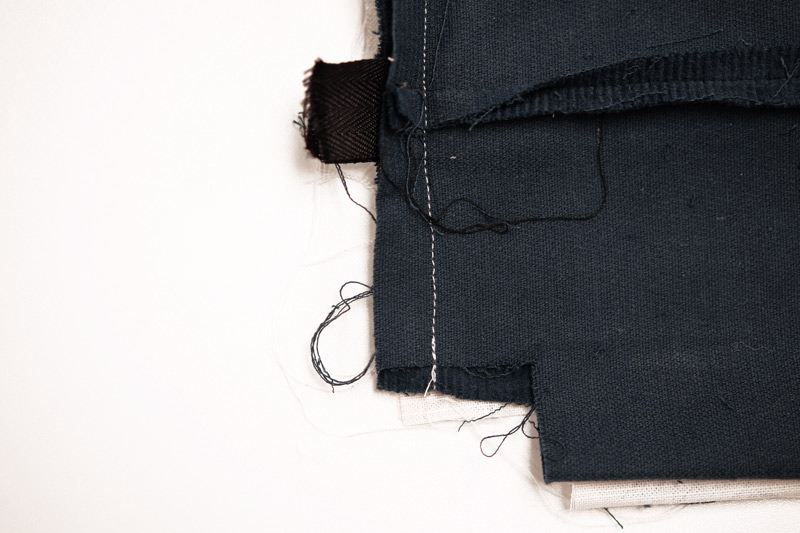
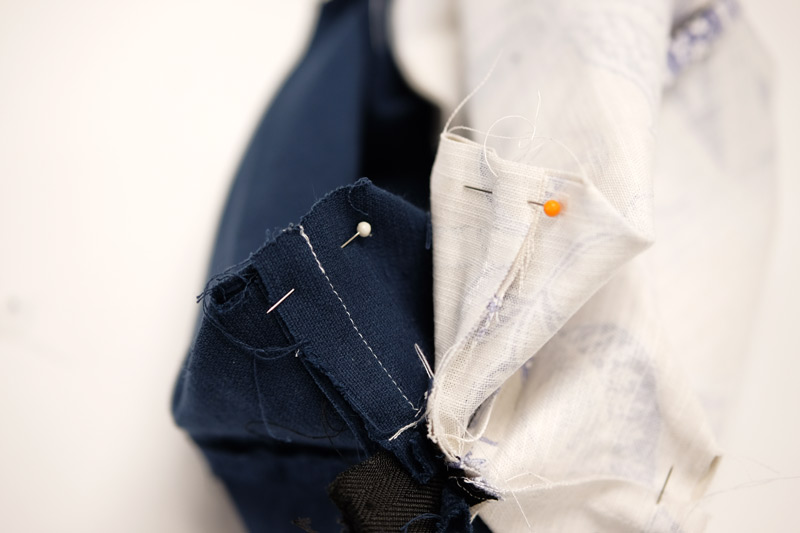

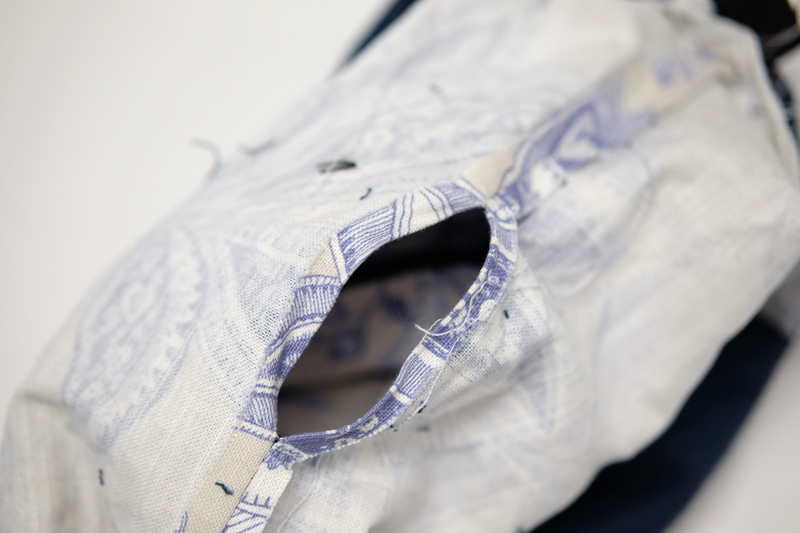
10. Flatten out with zip on top. Align the centre of the zip with the central bottom seam. UNZIP zipper halfway down.
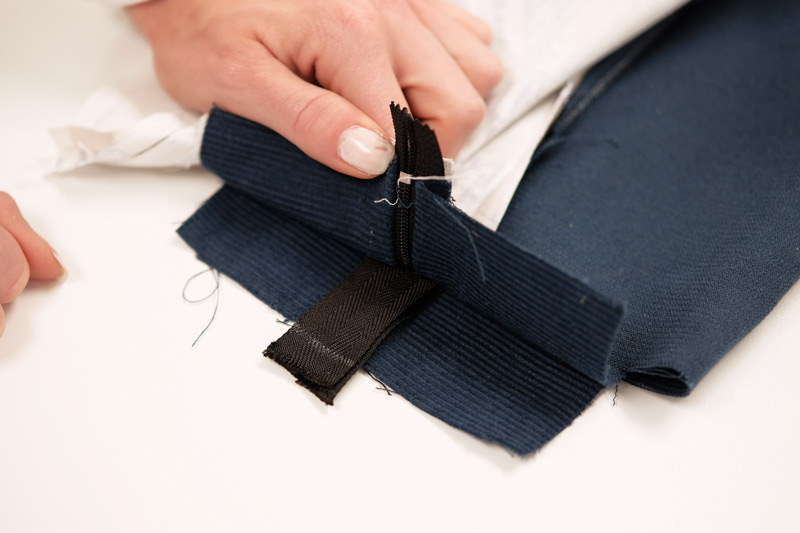
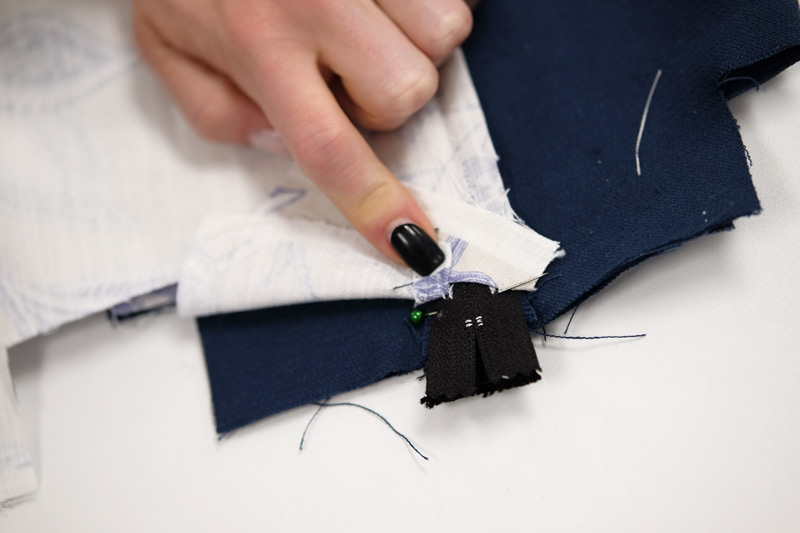
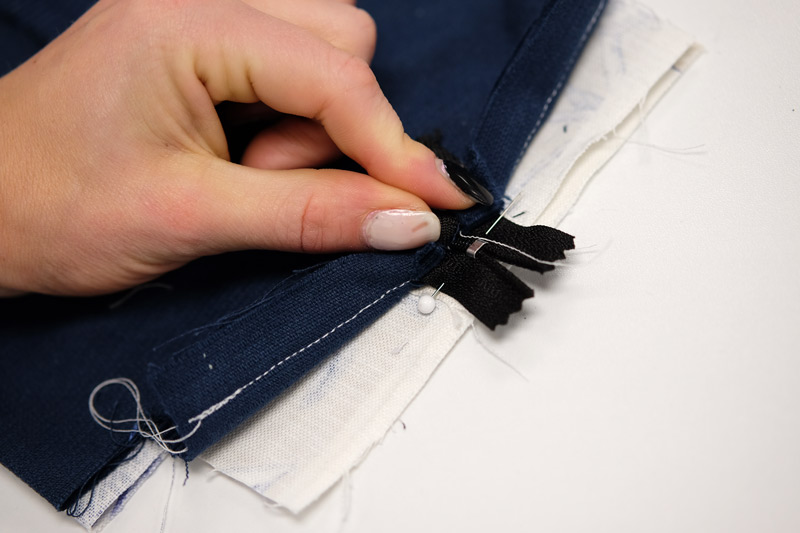
11. Fold twill tape pieces in half to form a loop. Pin with the loop facing towards the ends of the zip. Do this for both sides, taking care on open side of zip to ensure alignment.
12. Sew the top zipper side closed.
13. Puff up the bag and pinch the corners until the edges of the fabric forms a straight line.
14. Pin and sew 1 cm from the edge of the fabric.
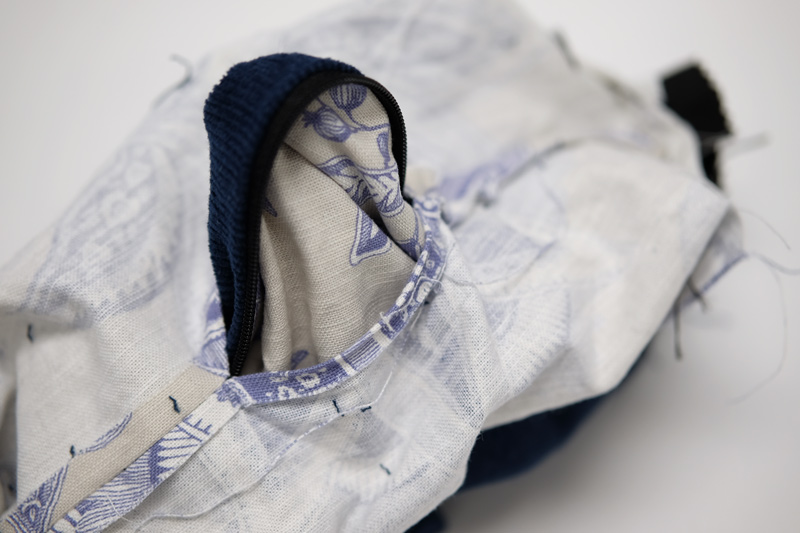
15. Now the bag is ready to be turn inside out! Be gentle, you will be placing a lot of tension on the one stitch.
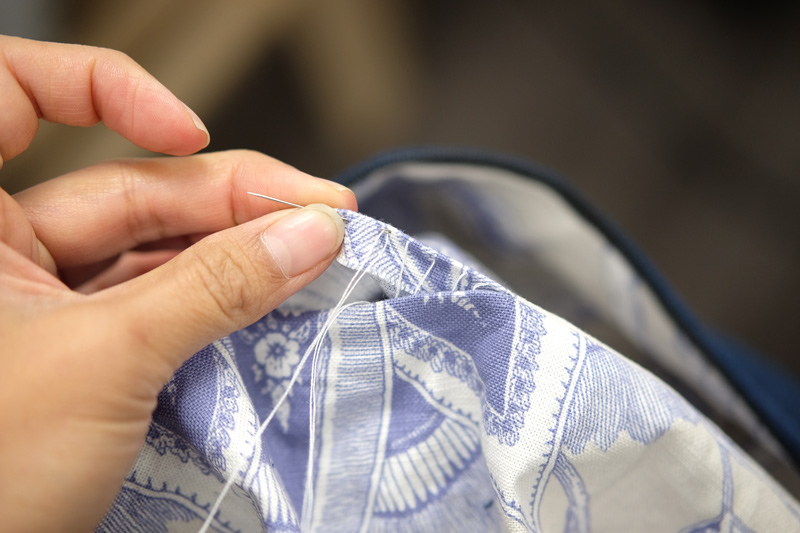
16. To finish off the opening, fold both sides 1 cm into the lining and press.
17. Line up the edges and option to do an edge stitch or a ladder stitch (invisible).
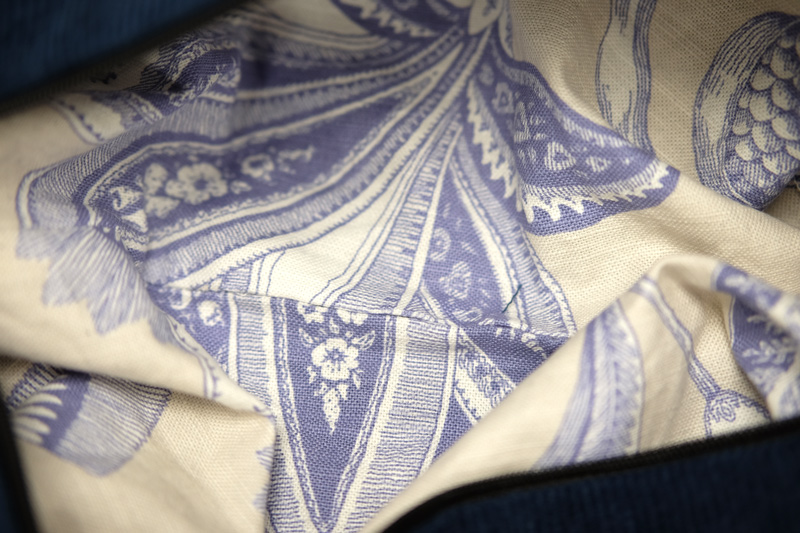
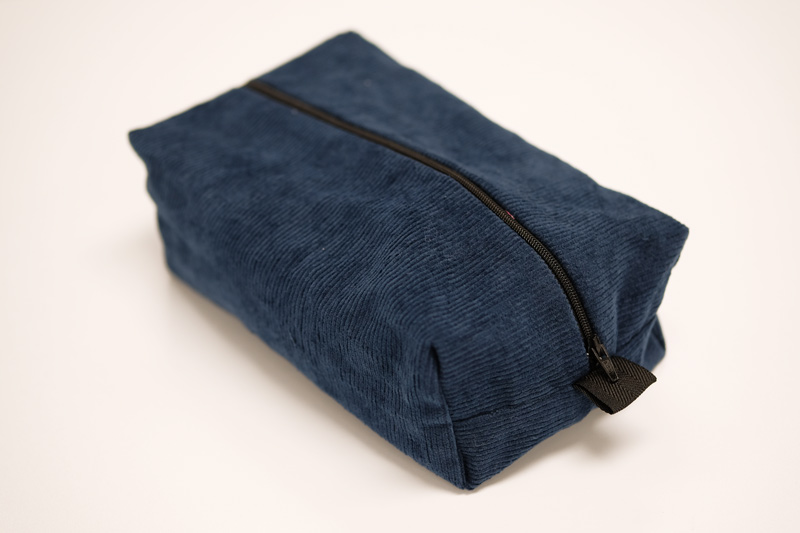
18. Tuck the lining into the bag and you are all done!
