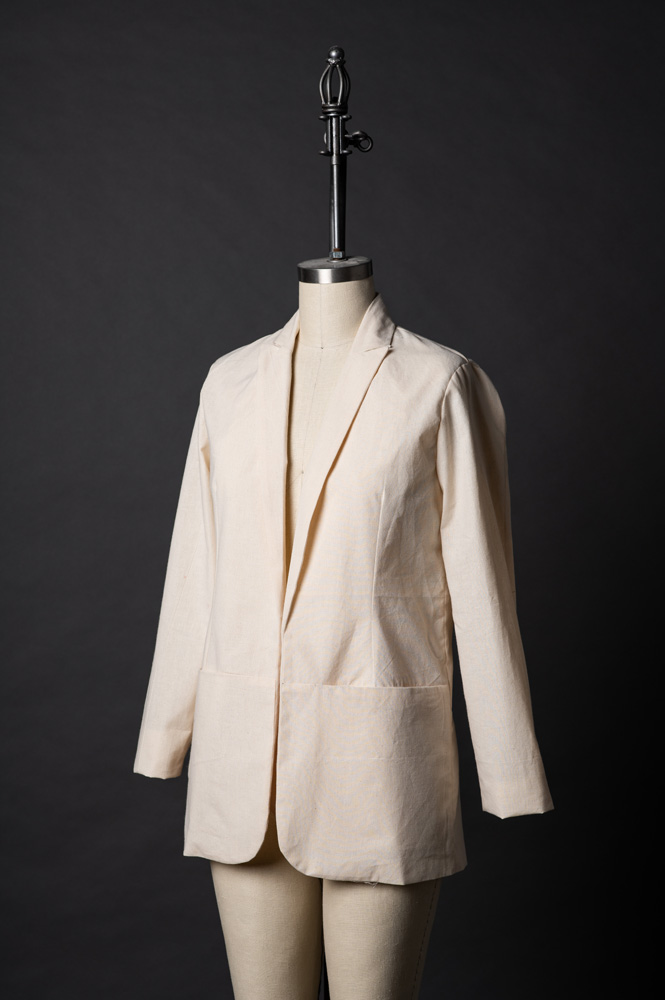
The Hurwundeki Blazer Tutorial

Tools & Materials
- 2-2.8 metre of Fabric (140cm wide)
- 1.2-1.6 metre of lining fabric for pockets
- 1 metre of Fusible Interfacing
- 1 x Button (optional)
- Thread
Cutting & Marking the Darts
Pockets
3. Line up pocket facing notches with the front upper pattern notches, sew in place.
4. Line up pocket lining notches with the front lower pattern notches, good side to good side, sew in place.
6. Repeat steps 2-5 for the other side of the jacket.
Two-Piece Sleeve
8. Stitch seam from under sleeve, making sure there no tucks or pleats in the seam. Press seams open.
9. Pin & stitch the second seam. Press seams open.
Body & Set-in Sleeves
**Most set in sleeves include what is called sleeve cap ease. The measurement of the sleeve crown is slightly larger than the armhole to which it will be sewn. The idea here is that the excess fabric can be ‘eased’ into the seam to create a small amount of fullness around the shoulder without the need for darts or gathers. This allows for movement around the armhole.
Sleeves are meant to be eased between your front and back armhole notches. This is because that part of the sleeve falls on the bias, or the diagonal grain.
11. Start by pining all your anchor points. This consists of your front and back notches, shoulder seam, and side seam/under seam.
12. Evenly distribute the ease from the front notch to the shoulder seam, and the back notch to the shoulder seam. Breaking it up in quarter sections will help you distribute the ease evenly.
13. Sew from the inside of the armhole, 1 cm seam allowance.
14. Press using a sleeve board or tailors ham for a crisp finish.
Collar
16. Line up the right sides of the two collar pieces together and sew along the top and sides of the collar.
17. Trim around the corners to eliminate bulk for the next step. Press the seam allowance; this will get tricky closer to the corners but work around it the best you can.
18. Next, turn the collar right side out and press along the edges.
*Use a point turner tool to get the corners nice and sharp!
20. Attach the front facing to the main body. Sew only from the notch down the centre front and along the bottom curved hem. Do not sew past the notch as that will result in you unstitching. Press.
Lining
22. Match the two notches together to create a pleat at the centre back. Press the top quarter of the lining to define the pleat. Baste in place.
23. Pin the curve side of the back facing to the curve of the back lining. This will be easier if you pin at the centre back notch first and work your way out towards the shoulder. Sew and press only the lining.
25. Pin and attach side front lining to the front facing. Press
26. Pin and sew the shoulders of the lining including the facing.
27. Pin and sew the sleeve lining exactly like the main body sleeve in steps 10-14. For the exception of the left sleeve, leave a hole roughly 10 centimetres as we will need it to finish the bottom hem of the blazer.
Attaching Lining Hems to the Main Body
**This bit is going to look super strange. But trust the process. I like to think of it as two tubes joining together.
30. Fold the sleeve lining like you would when you fold sleeve cuffs up. This shape will help with aligning to the cuff. Line up the correct seams together, under arm seam with under arm seam. Pin all around the cuff and lining.
31. Sew the cuff lining to the cuff seam. Repeat for the other sleeve.
33. Pull the remainder of the unsewn lining and hem through the hole you left in the left sleeve in step 27. Pin and sew.
34. Close of the hole in the sleeve with an edge stitch or by hand with a ladder stitch.
35. To close off the small hole where the front facing and bottom hem meets, use a ladder stitch to complete.


