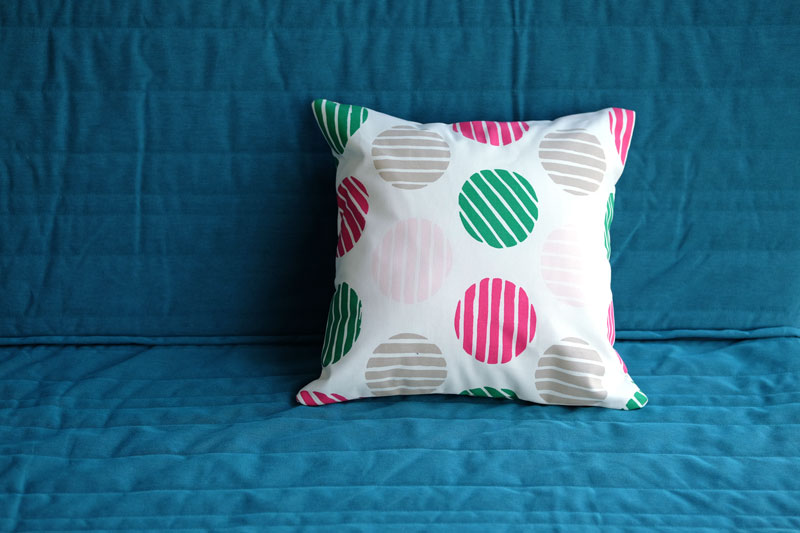
Cushion Cover Tutorial
Tools & Materials
- Drafting Paper (You can use kraft paper, recycled paper, newspaper, etc)
- Ruler (Grid rulers work best for pattern making)
- Tailors Chalk
- 1 x Button preferably 2-3 cm in diametre
- Fabric
- Thread
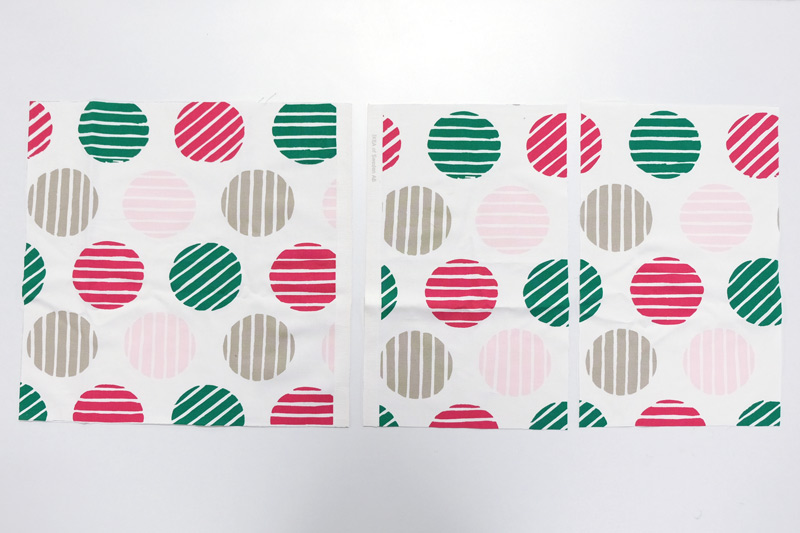
1. Start off by drafting the front and back cushion pattern on paper. Use the measurement of your cushion pad. In this example, the measurement of the cushion pad is 40 cm x 40 cm or 16″x 16″.
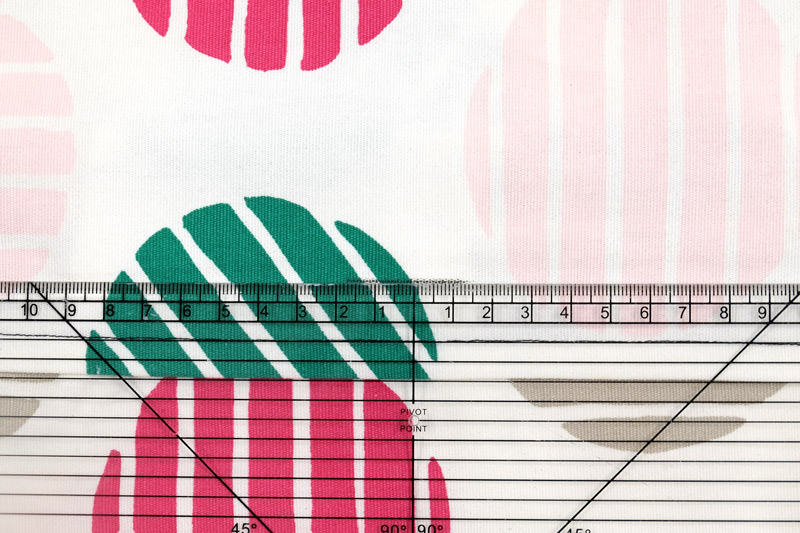
2. Front Pattern: Use your ruler to draw a 40 cm x 40 cm square. Make sure your vertical and horizontal lines form a 90 degree angle. Add a 1 cm seam allowance around bringing the finished pattern measurements to 42 cm x 42 cm.
3. Back Pattern: There will be a 5 cm (2″) overlap for the opening of the cushion. Use your ruler to draw a 40 cm x 25 cm rectangle. Add a 1 cm seam allowance around bringing the finished pattern measurements to 42 cm x 27 cm.
4. Once you have your pieces cut out, start with the overlapping edges of the back side of the cushion cover.
To prevent the fabric from fraying, use one of the following two options:
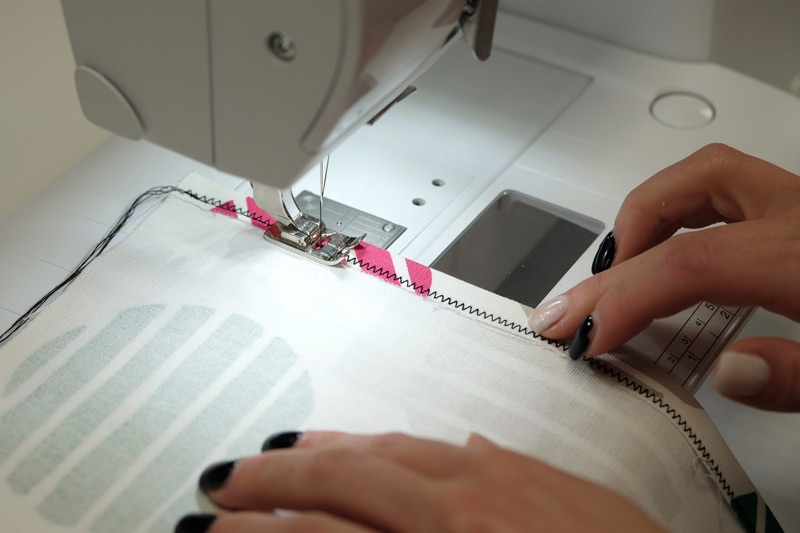
– Use a zig-zag stitch on the overlapping edges of your back pieces.
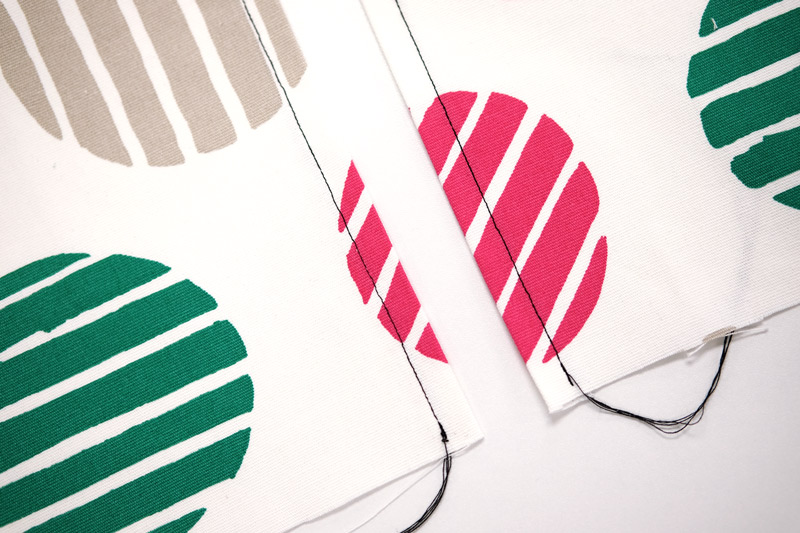
– Do a double-fold hem. To achieve this, lay your fabric with the hem/edge in front of you. Fold the fabric edge up 1 cm, and use an iron to flatten it out. Then, starting from the edge, create a second fold over the first 1 cm wide, so that the raw edge of the first fold is hidden under the second fold.
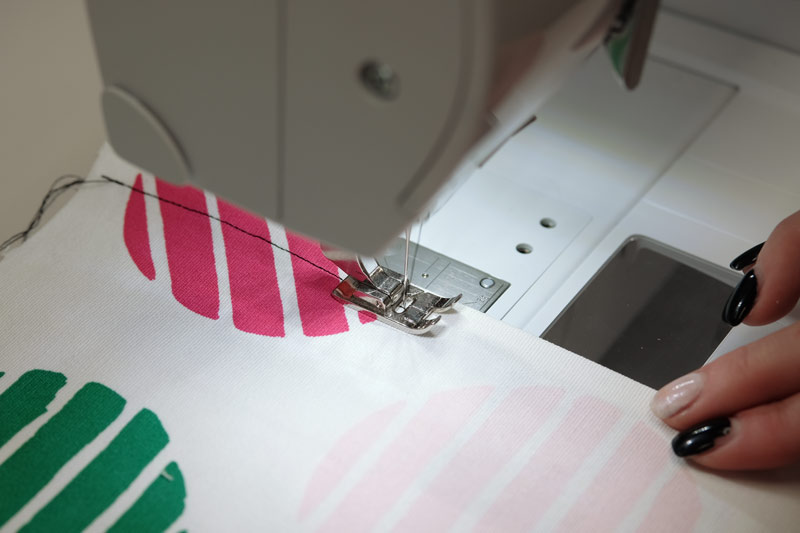
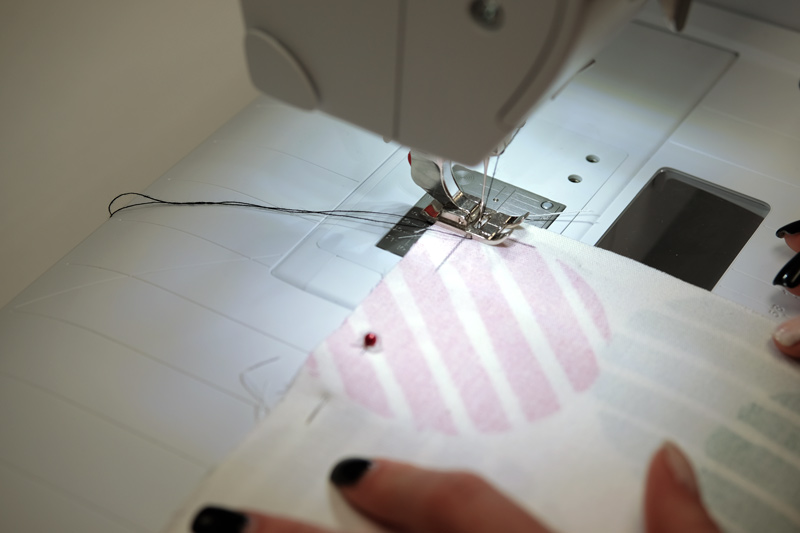
5. Sew along the hem approximately 8mm from the finished edge by using a straight stitch. Remember to reinforce at the beginning and at the end of every stitch!
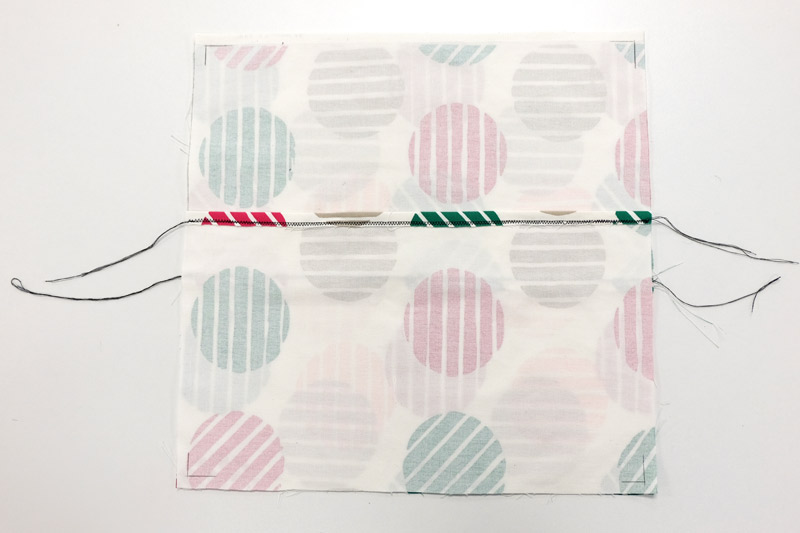
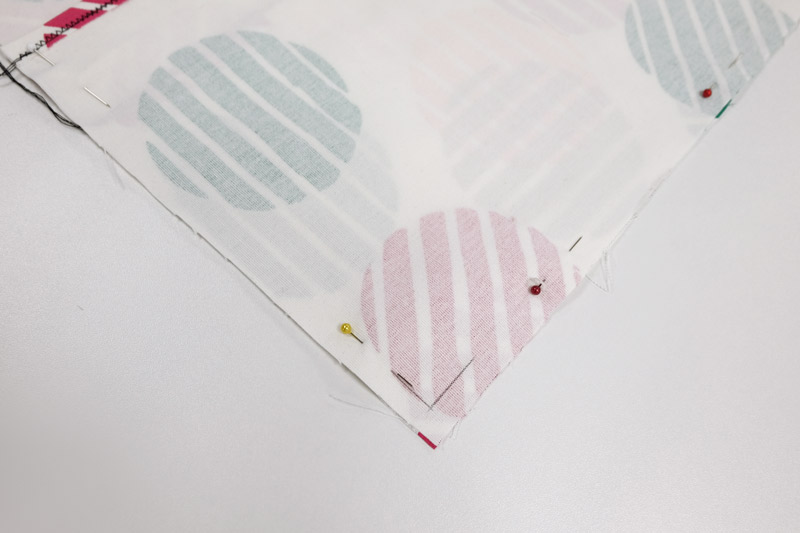
6. Match up the front and back pieces, right side with right side and the overlapping pieces facing you. Make sure all your edges match up before pinning together.
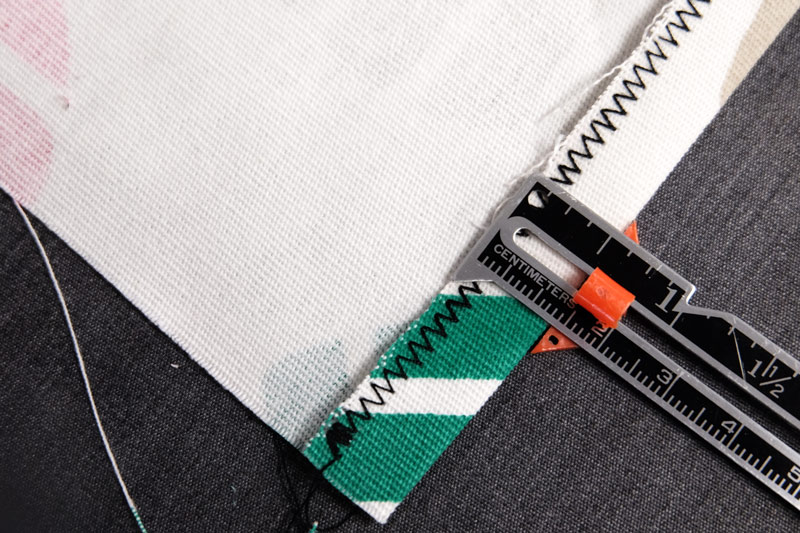
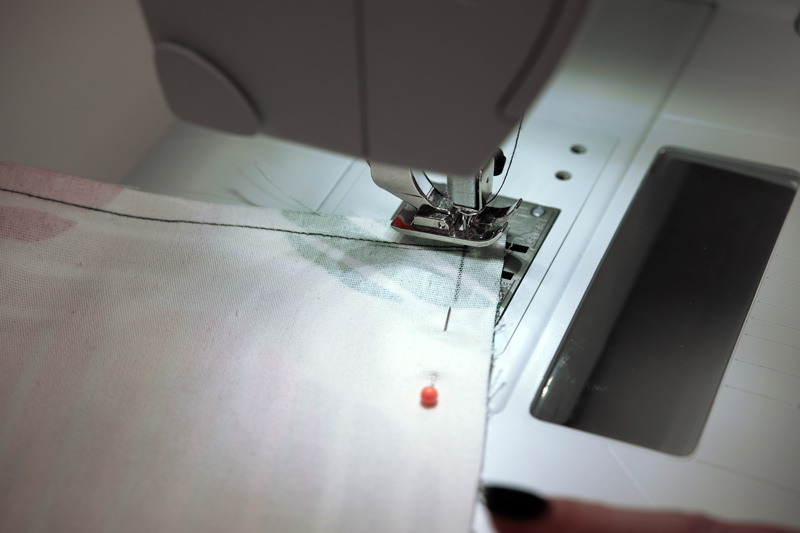
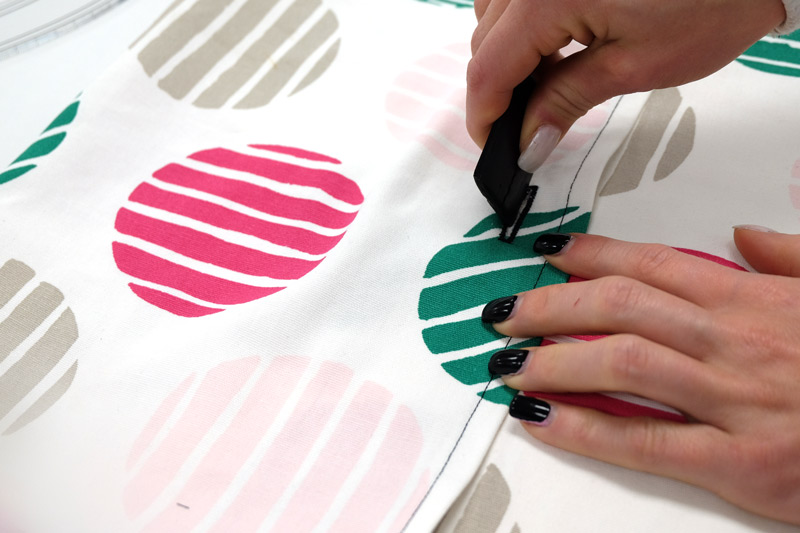
7. Mark 1 cm from all sides to indicate your sew line. Starting from one of the corner markings, sew 1 cm away from the edge all the way around the entire cushion cover. Remember to pivot at each corner!
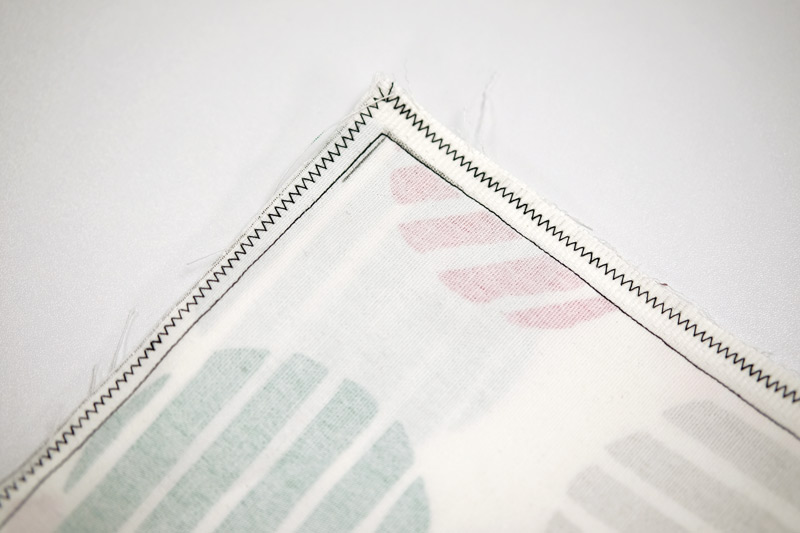
8. Press the seams open before finishing the edge with a zig-zag stitch.
9. Now you can turn the cover inside out!
10. Measure the diameter of your button. I try to pick buttons between 2-3 cm.
11. Draw a line with your button measurement at the centre of the overlapping top piece. This will indicate the size of your buttonhole.
12. Create your buttonhole, hand sew your button, and admire your wonderful sewing!


