1950s Circle Skirt Tutorial
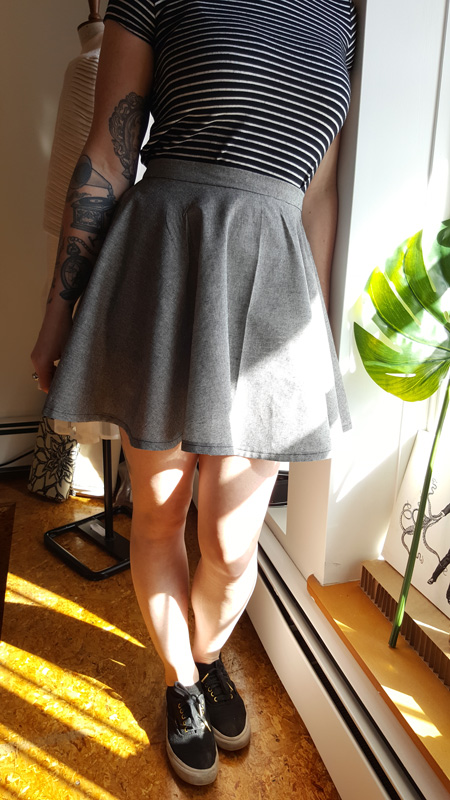
Tools & Materials
1950s Circle Skirt Pattern
- Fabric
- 1 x 9″ Zipper
- 1 x Hook & Eye
- Tailors Chalk
- Thread
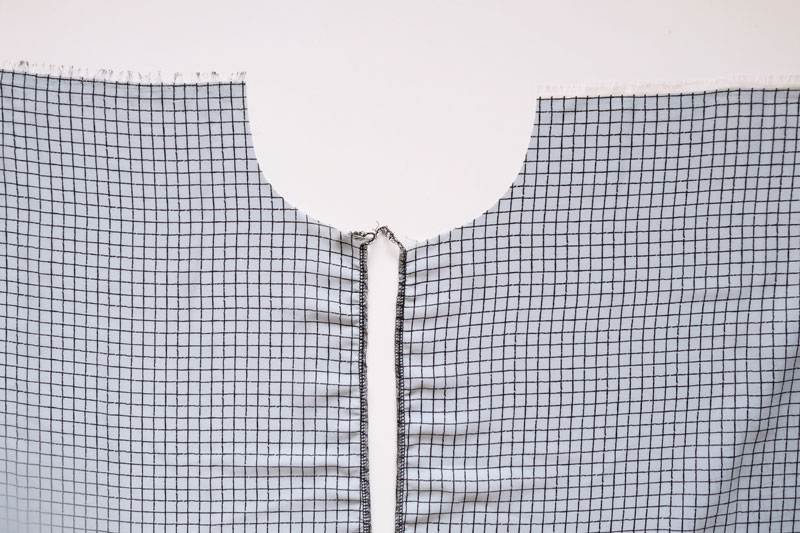
1. Start by serging or zig-zagging the raw edges of the centre back pieces individually.
2. Match the centre back pieces together, pin at the notches first to ensure the correct alignment.
3. Measure 22 centimetres down the centre back from the waistline, notch or mark a line.
4. Now you are ready to sew! Starting from the waistline, the first 22 cm you will use a basting stitch, once you reach your notch or line you have drawn, switch your stitch length back to a regular 2.5 cm or 3 cm, remember to backstitch at the beginning of this stitch and at the end. Seam allowance for this pattern is 1.5 centimetres.
5. Press the seams open.
Zipper Installation
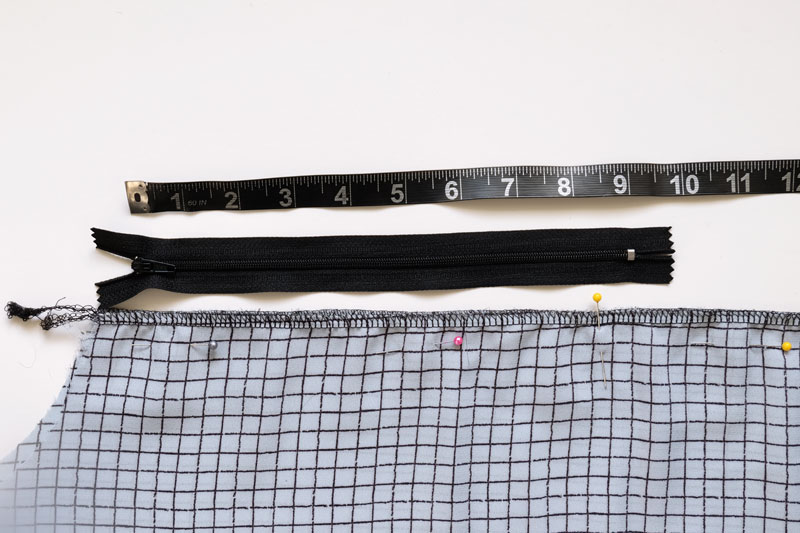
6. With the wrong side of the skirt facing you, place your zipper with the pull tab facing down, align the top of the zipper tape with the waistline. Pin in place.
7. Now turn over with the right side of the skirt facing you, slowly pin in place while removing the pins from the wrong side. Using this method will save the zipper from moving around and ensure it is placed exactly within the seam allowance.
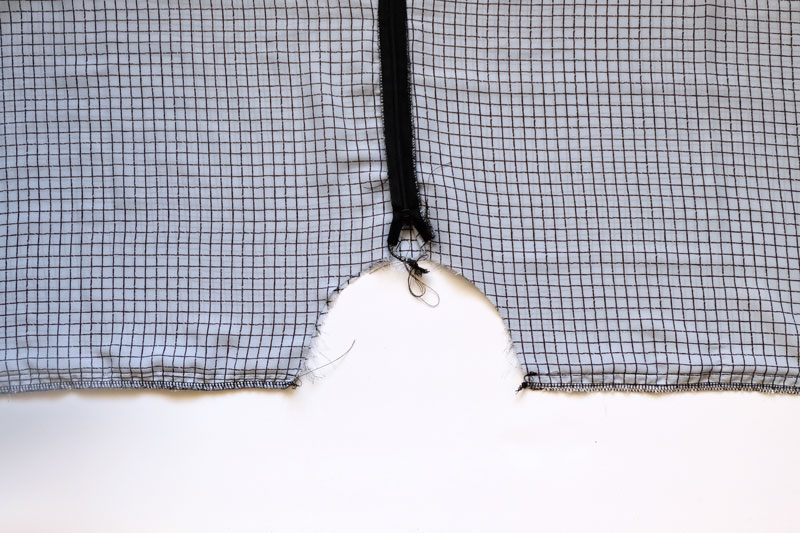
8. Switch to a zipper foot. Sew a stitch 1 centimetre away from the centre back seam, remember to pivot before you reach the zipper stopper (or risk breaking your needle!) before coming up the other side of the zipper.
9. Take a seam ripper and unpick the basting stitch to allow your zipper tab to move freely.
10. Match up the side seams, notches first. Pin and sew in place. Press the seams open before finishing the edge with a zig-zag stitch.
**Depending on your material, these next few steps may be optional. If you chose not to use interfacing to add structure to your waistband, you can skip to step 12.
11. Place the interfacing with the glue side down on the wrong side of the waistband. Be sure to place it 1.5 centimetres away from the edges. Once you have it in place, use the iron to set the glue in place. Follow the heat setting as instructed for your interfacing.
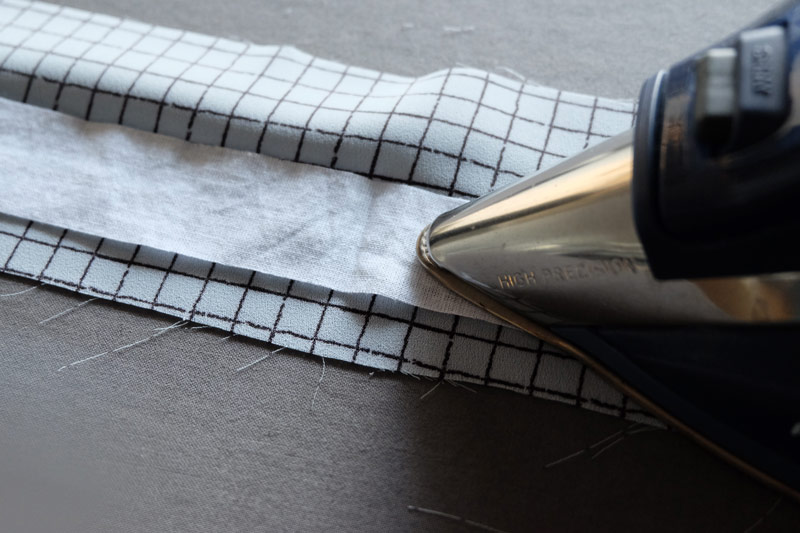
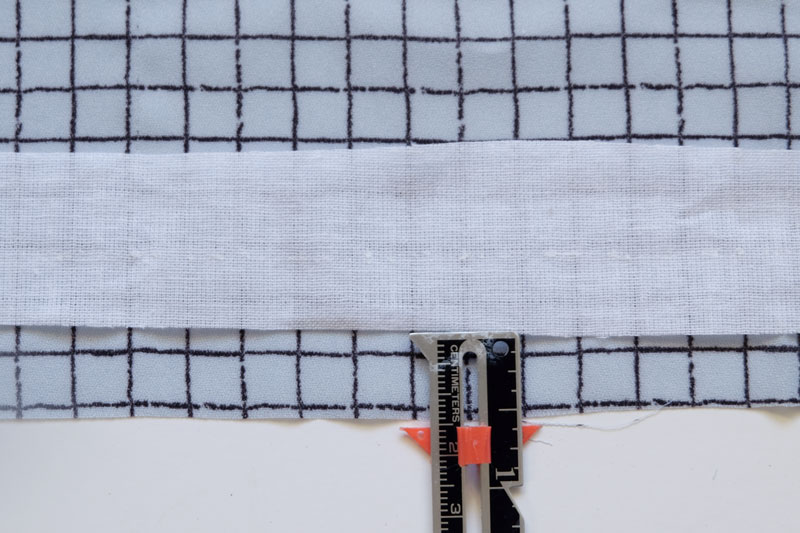
Waistband Interfacing – *optional
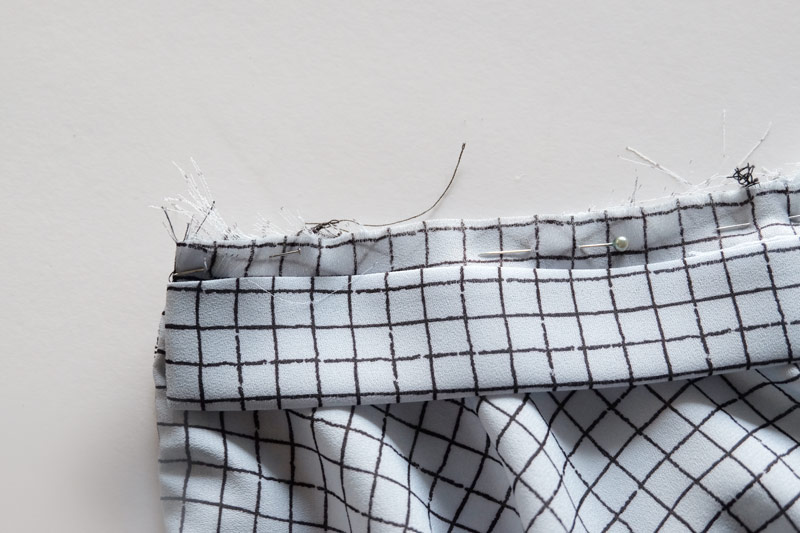
12. With the wrong sides together, fold the waistband in half, press.
– Press the long edge of the waistband that does not have interfacing 1 cm up. This edge should be pressed approximately 2-3 mm less than the final seam allowance for this edge. For example, if the waistband seam allowance is 3⁄8″ (1 cm), this edge of the waistband should be pressed 7-8 mm.
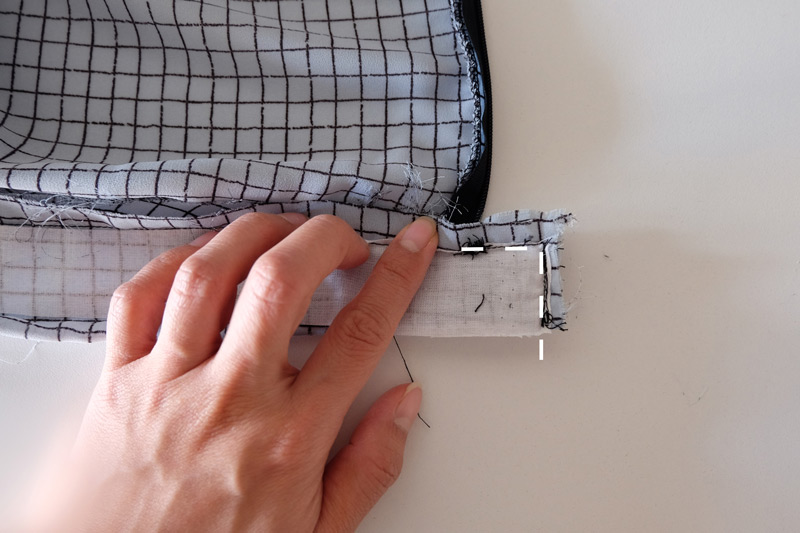
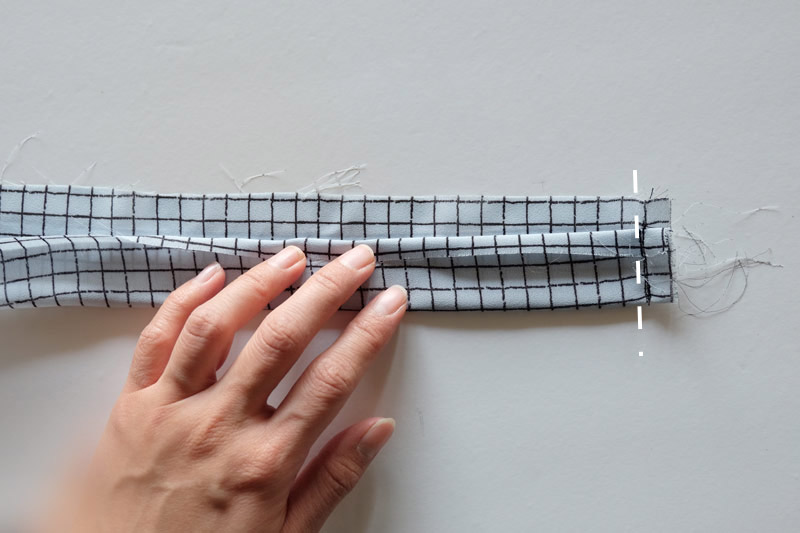
13. On the one end of the waistband that does not overlap, stitch the short side down. Seam allowance is still 1.5 centimetre.
14. Turn the waistband right side out, trim off any excess bulk for clean and crisp corners.
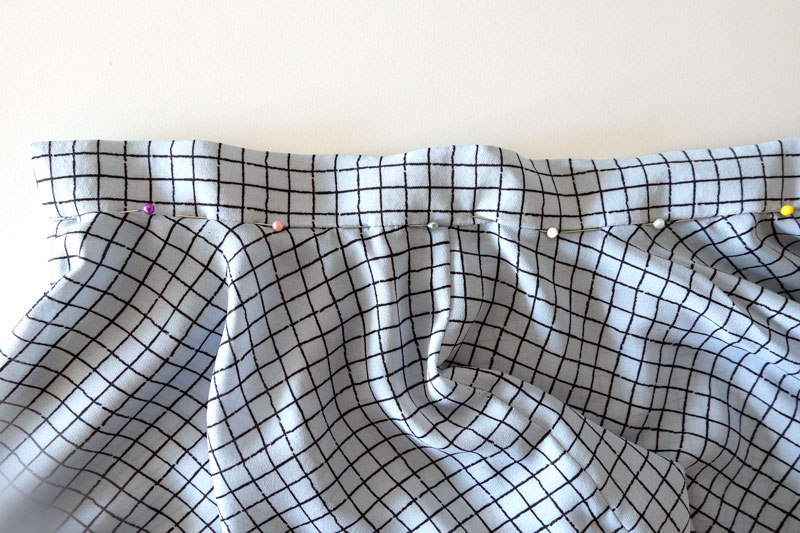
15. Align top edges of skirt and the outer waistband together, pin, and stitch in place.
16. On the overlapping end of the waistband, you will be sewing in a “L” shape. Start your stitch from the zipper, pivot to seal up the short end.
17. Press the seams upwards into the waistband. The goal is to hide the seams in between the waistband.
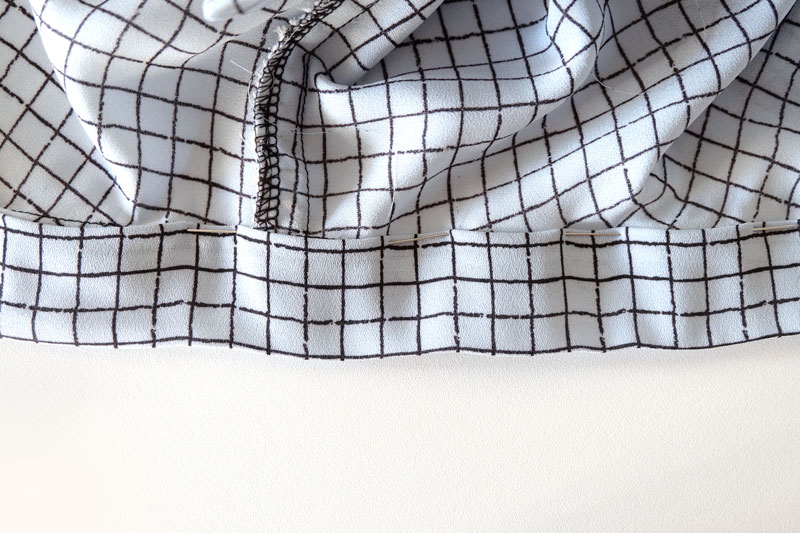
18. Time to close off the waistband! The folded edge should be neatly pinned along the seam so that it covers the stitch line. Make sure to insert the pin directly into the ditch of the seam, securing the underside of the binding.
– Pin from the right side of the garment for easier removal when you sew. Leave a gap about 6-8 cm wide at the waistband side seam so that you can pull the elastic through the back of the waistband later.
19. Use the edge joining foot if you have one to complete the next step, it will make your life easier! A regular foot will work but will require more patience.
Place the machine’s needle in the ditch of the seam.
Sew slowly and pull the fabric lightly on either side of the needle as you guide it through the ditch.
Remove the pins as you approach them.
The finished stitch is invisible on the right side of your garment while capturing the inside folded edge.
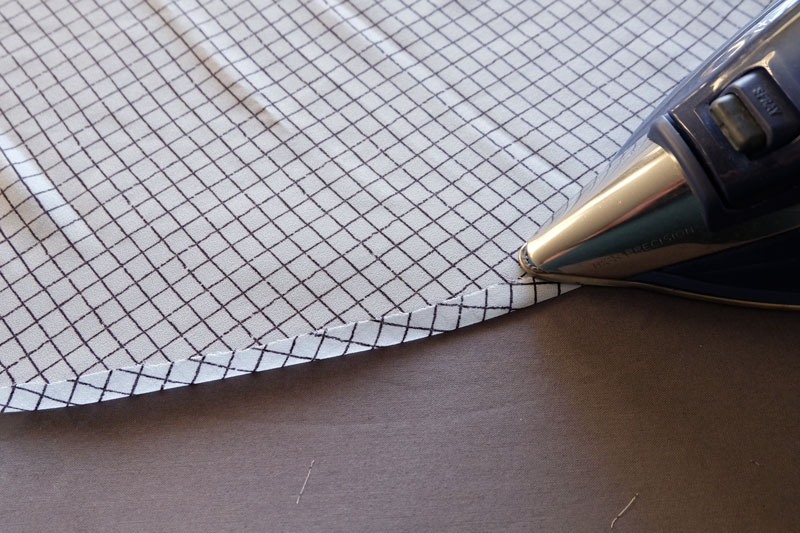
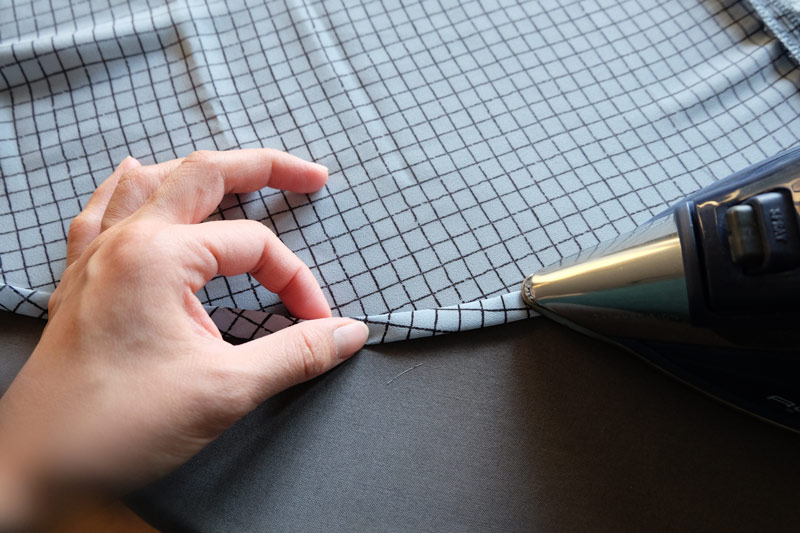
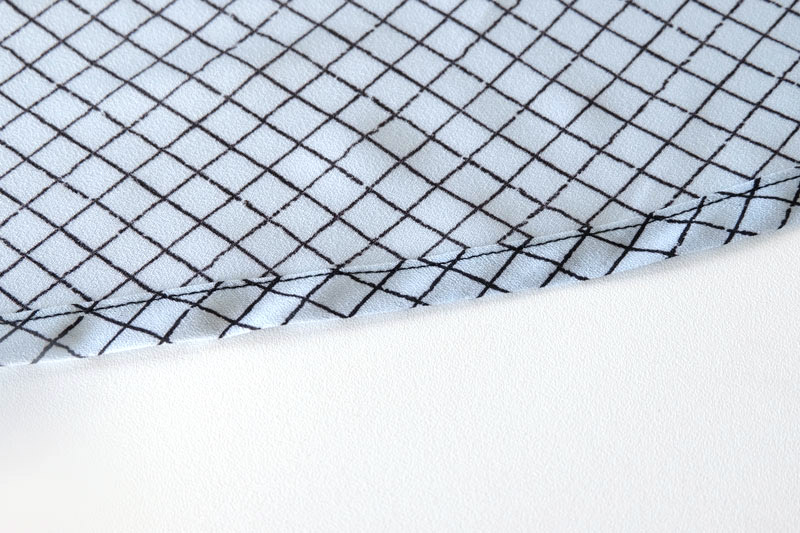
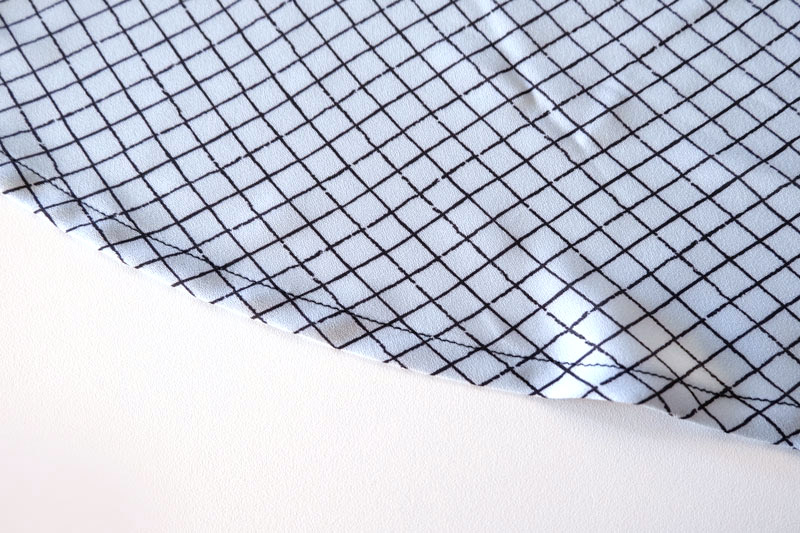
20. A double-fold curved hem can be tricky if the fold is too large. Make sure your first fold is no more than 1 centimetre which will make your second fold much easier to work with. Press and topstitch!
21. Final step: attach your hook and eye with a hand-sewing needle.
